To bring your Arduino project ideas to life, you will need the cloud’s help at some point. Technically, it means implementing an Arduino sketch that can send data to an IoT cloud platform. The Arduino code leverages different kinds of AT commands to relay the connection to available Wi-Fi networks and further transmit data to a distant IoT platform server using HTTP requests on the cloud.
There are quite a few popular ways to connect Arduino to the cloud which are covered below.
1. Using Arduino’s Built-in Ethernet Library
Arduino IDE has several built-in Ethernet libraries that are designed to work with Arduino Ethernet Shield, Arduino Ethernet Shield 2, and W5100/5200/5500 Ethernet modules. The purpose of these Ethernet shields is to either act as a server that handles incoming connections or a web client that connects to any outgoing IoT platform server. You can stack these Ethernet shields over any Arduino or Genuino boards. (There are plenty of examples available on Arduino.cc.)
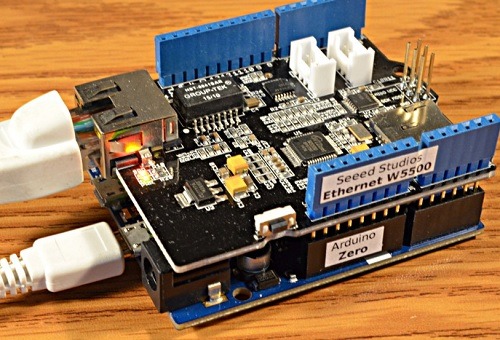
Once the required connections are set, go to “File -> Examples -> Ethernet” to import one of the built-in Ethernet libraries that will allow your Arduino board, and any on-board sensors to connect to the Web. Among the many examples, there’s a chat server, barometric pressure web server, web server, web client repeating, etc.
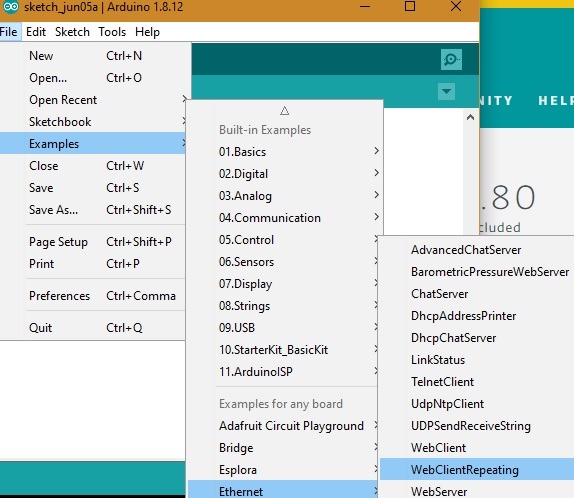
Of course, these are very simple library functions, and their only purpose is to ensure that your Arduino project device talks to the web. For example, the “WebClientRepeating” makes repeat HTTP requests using the Ethernet shield. If you are working with real IoT platforms, you will need more advanced libraries.
2. Using a Client Library on Any IoT Platform
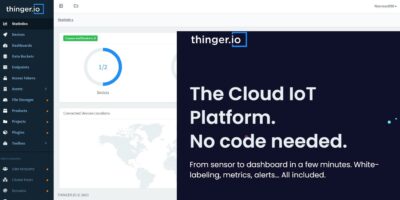
Popular IoT platforms such as ThingWorx or Thinger.io have their own custom client libraries that are designed to connect with various Arduino boards. They can connect with not only Arduino boards but also popular supported boards such as ESP8266 (a precursor to ESP32), which comes with built-in Wi-Fi and Bluetooth.
For example, if you have a membership in Thinger.io, go to “Sketch -> Include Library -> Manage Libraries” and install the latest library. It will also give a list of Arduino boards it will connect to.
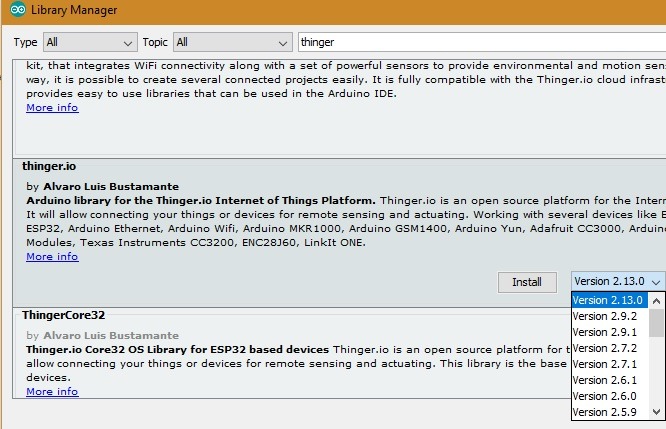
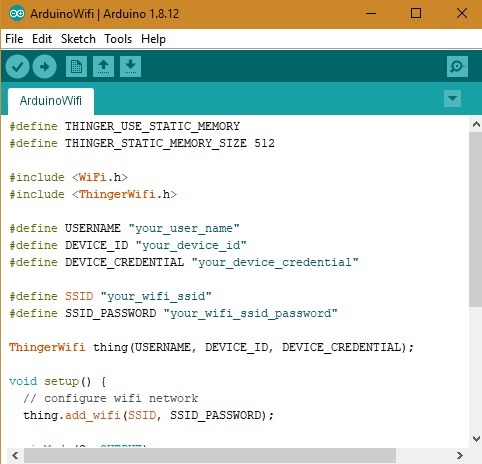
Later, you can view available sketches for the new platform from “Examples.” For Thinger.io, as shown here, you can enter your own device ID, username, password, with Arduino WiFi shield, followed by verification and upload. Thus, a communication with the relevant platform is established.
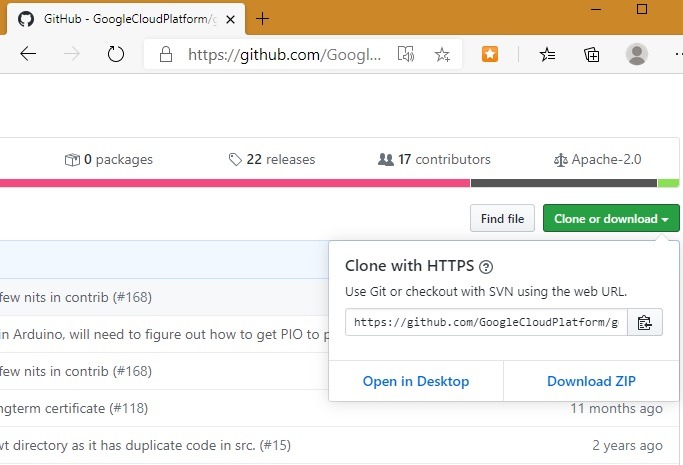
Often, Arduino may not have an included library that supports the required IoT platform. In that case, go to “Include Library” and “Add .zip Library,” which you will usually find in the IoT platform’s GitHub page. For example, the following is the GitHub source regarding Google Cloud support for Arduino and ESP8266.
3. Using an Arduino-Compatible Wi-Fi Module
We saw above how you can connect Arduino board to the cloud using a dedicated Ethernet shield. In the same way, you can establish such a connection using an Arduino-compatible Wi-Fi module. ESP8266 WiFi is a popular example of such an external module which is often used in many Arduino projects found online.
For example, an IoT platform called AskSensors supports such a compatible Wi-Fi module. The related sketch can be downloaded as a zip file from its GitHub page.
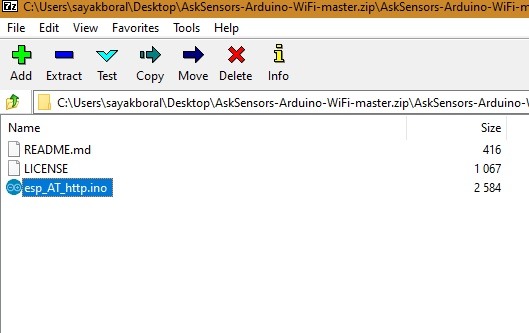
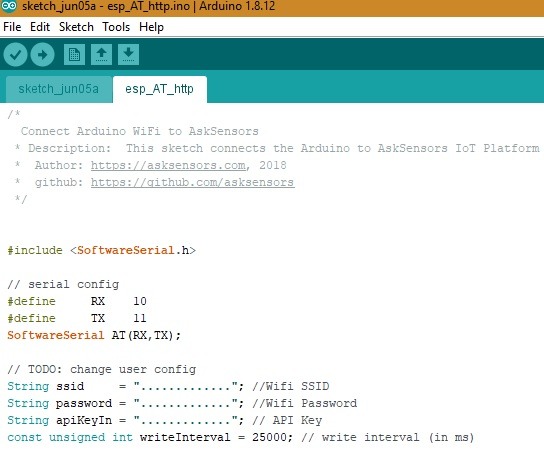
After this, the AskSensors GitHub code can be added as a sketch. Once the code is verified and uploaded, the Arduino will now be able to handle AT commands with the ESP8266 Wi-Fi module. Its job will be to connect to available Wi-Fi networks and send remaining data to the AskSensors cloud over HTTP requests.
4. Using an External Wi-Fi Cloud Connector
Currently, some external Wi-Fi cloud connectors are being promoted to be used by Arduino connection as a free plug and play. This is by far the most efficient method to connect your Arduino via Wi-Fi to the Cloud.
Cloudino is one such example where you can simply download its Arduino API from the official GitHub pages in the link. There are many ready-made Arduino sketches available, such as for RFID connection. No separate shield is required to connect the Arduino board with the cloud.

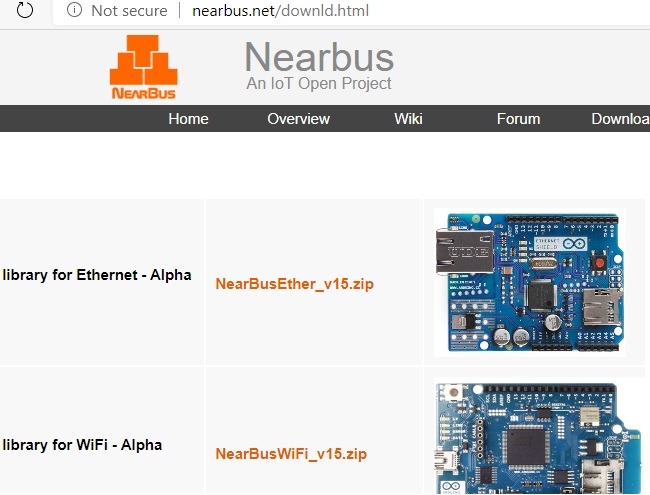
Nearbus is another example of a cloud connector which supports Arduino boards. The site has readily-available download links which support connectivity in as little time as 30 seconds. All you have to do is download and install the free NearBus Agent in your Arduino Ethernet board.
Just by writing a few lines of code, you can create your own IoT system that sends data from Arduino to the cloud as a server and vice versa as a client. Regardless of how simple or complex your project is, this kind of data exchange over the Internet is a very crucial step in any IoT deployment.
