In this article,we will walk you through the basic steps required to integrate Google Assistant into your IoT project.
Currently, Google Assistant is available with phones, speakers, cars and wearable devices. But after following these steps, you can also configure it with drones, sensor instruments, smart lights and many other devices.
For your chosen project, visit the developer’s site, and log in with your Google Play Developer account. You have to pay a one-time registration fee of $25 to become a Google developer. In the product search menu, select “Actions on Smart Home.”
Step 1: Create a Smart Home Action
For the first step, you need to define a proper action which the user can command using their voice. In Google parlance an Action defines support for a user request (represented as an intent) and the corresponding fulfillment to carry out the request.
For example, “turn on the lights” or “fly the drone” are a few examples which may constitute actions.
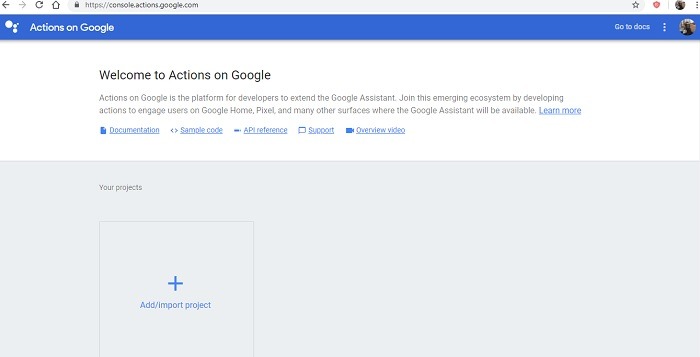
To find the code for the action, you can either use an end-to-end example or create your own project from scratch in the action console window. It is only possible with a Developer account.
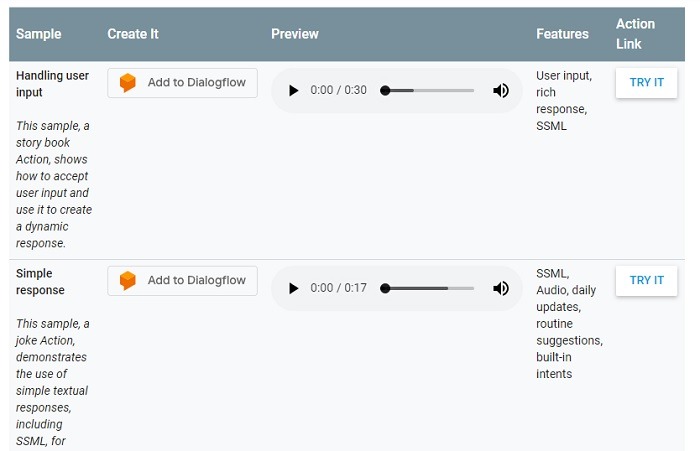
At the Google Developers site, you can find many sample actions such as “handling user inputs” or “simple responses.” They can be imported into the Action Console for smart homes.
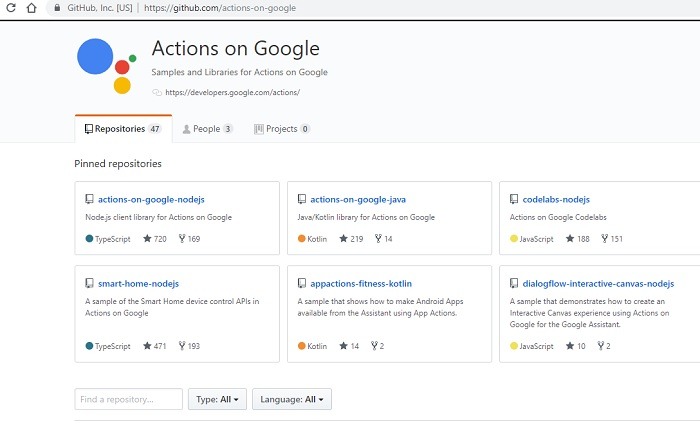
End-to-end examples are also available as GitHub repositories. Make sure you have a public oAuth 2.0 server to link your account.
Step 2: Process Smart Home Intents
After creating a smart home action and fulfilling them on your console, the next step is to try and capture user intent using a programming language such as Python. This includes providing fulfillment and returning error requests.
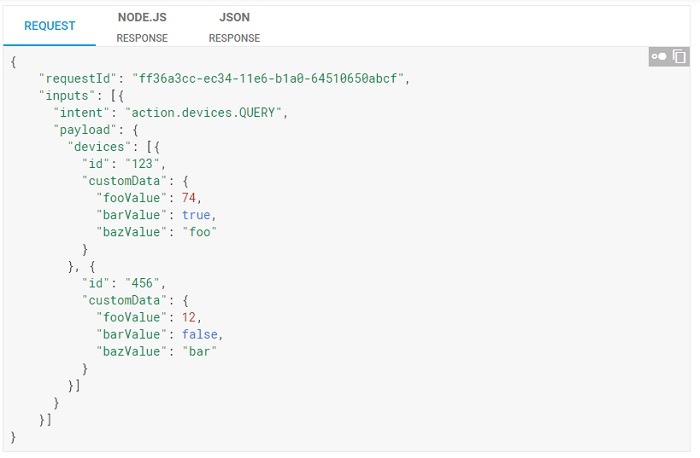
A few of the possible error responses include: authExpired, which means expired credentials, and deviceOffline, which means the target is unreachable, and timeout.
In the end, the fulfillment should minimize any delay between the Assistant and your cloud APIs for the project.
Step 3: Implement Request Sync
After creating the smart home action and testing for all possible “intents,” you must sync your device to any Google user’s ID. For this, a specific Sync request is sent. Once done, the user can directly sync their Google accounts in any of the following instances:
- Adding a new device
- Removing an existing device
- Renaming an existing device
- Changing device location
- Implementing a new device trait or feature
Step 4: Implement Report State
One of the most important features of integrating Google Assistant with IoT devices is to implement a report state. This is useful when Google Assistant can directly look up a user’s status with respect to the device. This way it does not have to query back to determine a course of action, thus there is no delay between a user request and fulfillment.
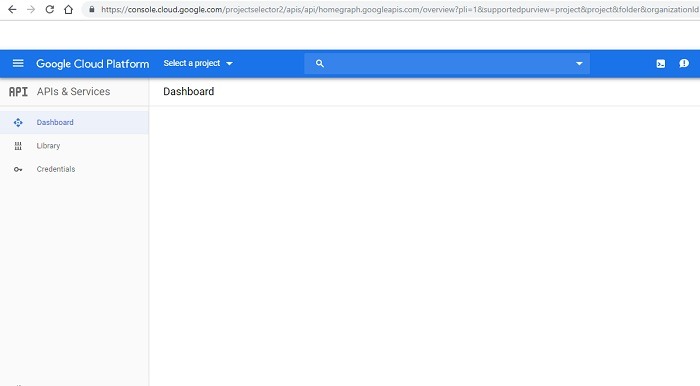
A user’s report state can be directly viewed in what is known as “Home Graph” available at the console window.
Step 5: Test and Submit Actions
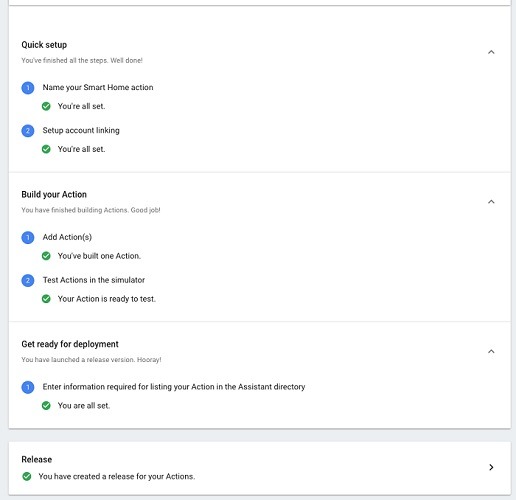
From the Actions console you have to finally test your actions for which a simulator is available right there. After fulfilling the tests, you can submit the actions for final integration with the IoT device.
Final Notes
Apart from the five standard steps discussed here, there can be additional steps for touch and voice integration. By correctly building an action and testing it, you can create a smart, intelligent device with Google Assistant.
Have you worked with Google Assistant for IoT projects? Please share your experience in the comments.
