When it comes to IoT projects, Arduino isn’t quite a household name, but maybe it should be. While Arduino boards are comprised of fairly modest hardware, they can get a whole lot done. These boards can power everything from weather stations to smart mirrors.
Arduino boards are also surprisingly good candidates for projects you might normally use a Raspberry Pi for. In this case, we’ll be looking at using one as a basic web server. This is a simple example, but it can scale up as well.
Before You Start
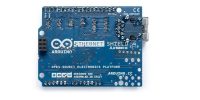
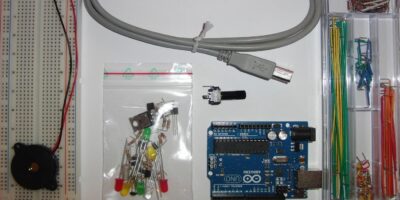
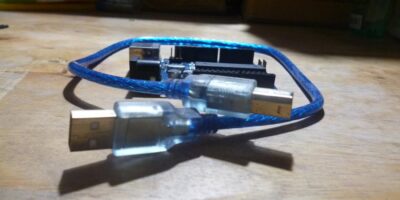
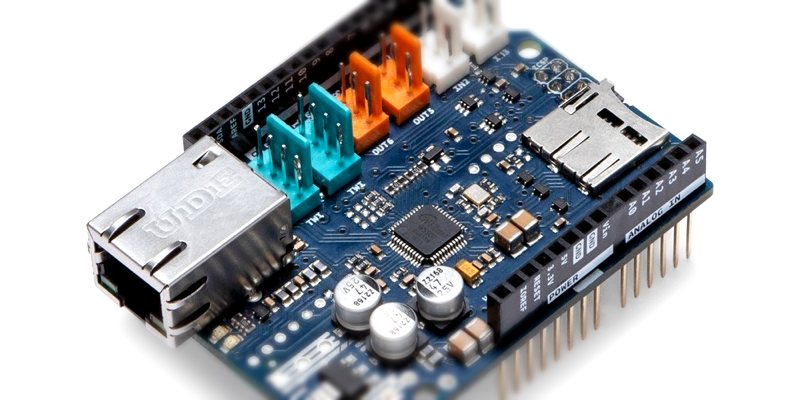
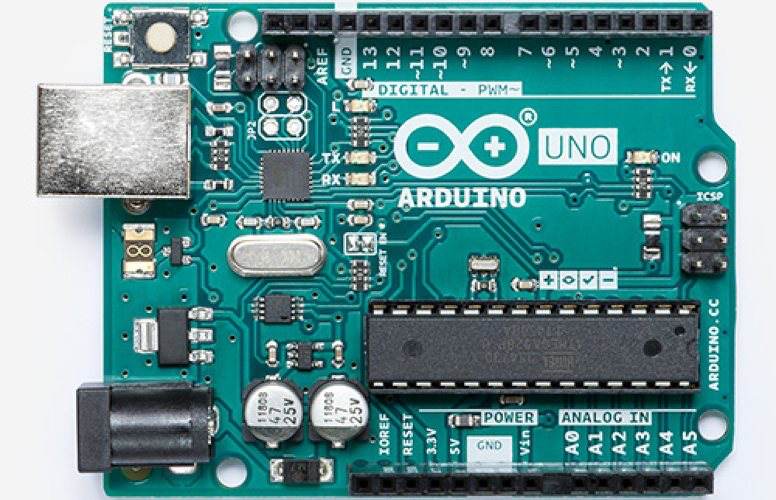
You’ll need a few things to get started. Obviously, you’ll need an Arduino board like the Arduino Uno. Then you’ll also need the Ethernet Shield for Arduino. Aside from this, you’ll need an Ethernet cable to connect to your network and a USB cable to power and program the board.
When it comes to writing and running the code, you’ll be best served by running the Arduino IDE. If you’re running Ubuntu, we have a guide to getting the Arduino IDE up and running.
Preparation
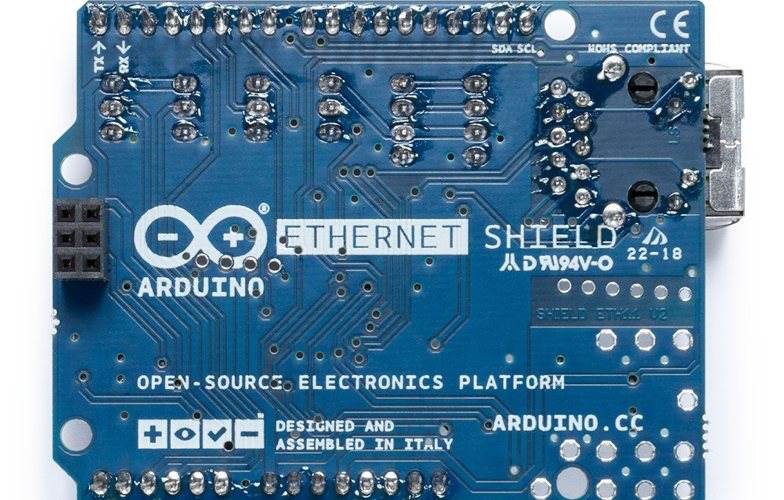
Before you do anything, you’ll want to connect the Ethernet Shield to your Arduino. To do this, simply mount the shield on top of your Arduino board. Now you can connect to your computer via the USB cable.
If you have an SD card you’re using with the Arduino, it can cause potential problems with this sketch. Either remove the SD card or add the following code in the setup() function in the next section:
pinMode(4, OUTPUT);
digitalWrite(4, HIGH);
The Code
There is already plenty of code available to get a basic web server running on the Arduino Ethernet Shield. We’re not going to reinvent the wheel here. Instead, the following code is taken from the Arduino website. Copy it into the Arduino IDE, compile it, and upload it to get your server running.
/* Web Server A simple web server that shows the value of the analog input pins. using an Arduino Wiznet Ethernet shield. Circuit: * Ethernet shield attached to pins 10, 11, 12, 13 * Analog inputs attached to pins A0 through A5 (optional) created 18 Dec 2009 by David A. Mellis modified 9 Apr 2012 by Tom Igoe modified 02 Sept 2015 by Arturo Guadalupi */ #include <SPI.h> #include <Ethernet.h> // Enter a MAC address and IP address for your controller below. // The IP address will be dependent on your local network: byte mac[] = { 0xDE, 0xAD, 0xBE, 0xEF, 0xFE, 0xED }; IPAddress ip(192, 168, 1, 177); // Initialize the Ethernet server library // with the IP address and port you want to use // (port 80 is default for HTTP): EthernetServer server(80); void setup() { // You can use Ethernet.init(pin) to configure the CS pin //Ethernet.init(10); // Most Arduino shields //Ethernet.init(5); // MKR ETH shield //Ethernet.init(0); // Teensy 2.0 //Ethernet.init(20); // Teensy++ 2.0 //Ethernet.init(15); // ESP8266 with Adafruit Featherwing Ethernet //Ethernet.init(33); // ESP32 with Adafruit Featherwing Ethernet // Open serial communications and wait for port to open: Serial.begin(9600); while (!Serial) { ; // wait for serial port to connect. Needed for native USB port only } Serial.println("Ethernet WebServer Example"); // start the Ethernet connection and the server: Ethernet.begin(mac, ip); // Check for Ethernet hardware present if (Ethernet.hardwareStatus() == EthernetNoHardware) { Serial.println("Ethernet shield was not found. Sorry, can't run without hardware. :("); while (true) { delay(1); // do nothing, no point running without Ethernet hardware } } if (Ethernet.linkStatus() == LinkOFF) { Serial.println("Ethernet cable is not connected."); } // start the server server.begin(); Serial.print("server is at "); Serial.println(Ethernet.localIP()); } void loop() { // listen for incoming clients EthernetClient client = server.available(); if (client) { Serial.println("new client"); // an http request ends with a blank line bool currentLineIsBlank = true; while (client.connected()) { if (client.available()) { char c = client.read(); Serial.write(c); // if you've gotten to the end of the line (received a newline // character) and the line is blank, the http request has ended, // so you can send a reply if (c == '\n' && currentLineIsBlank) { // send a standard http response header client.println("HTTP/1.1 200 OK"); client.println("Content-Type: text/html"); client.println("Connection: close"); // the connection will be closed after completion of the response client.println("Refresh: 5"); // refresh the page automatically every 5 sec client.println(); client.println("<!DOCTYPE HTML>"); client.println("<html>"); // output the value of each analog input pin for (int analogChannel = 0; analogChannel < 6; analogChannel++) { int sensorReading = analogRead(analogChannel); client.print("analog input "); client.print(analogChannel); client.print(" is "); client.print(sensorReading); client.println(" "); } client.println("</html>"); break; } if (c == '\n') { // you're starting a new line currentLineIsBlank = true; } else if (c != '\r') { // you've gotten a character on the current line currentLineIsBlank = false; } } } // give the web browser time to receive the data delay(1); // close the connection: client.stop(); Serial.println("client disconnected"); } }
What the Code Is Doing
In the above code the MAC address is being set manually. The IP address is as well. While the MAC address should work fine on most networks, you may need to change the IP address to fit with the address conventions used on your network.
The setup() function is, well, setting up the Ethernet connection and preparing to listen for incoming connections. It’s also handling any errors that may pop up at runtime.
The real meat of this sketch takes place in the loop() function. This listens for clients initiating connections, responds with header information, then serves HTML code which is rendered by the browser. The code then closes the connection once it has finished serving the data.
Conclusion
We’ve already mentioned what can happen when you have an SD card inserted but aren’t using it. What if you decided to load your web site off of the SD card instead? You can modify the above code to work this way, or you can use it as the basis for a larger project.
This web server can also serve as a small part of a larger IoT project. For an idea as to where you could potentially go from here, take a look at our roundup of some of the best Arduino IoT projects.
