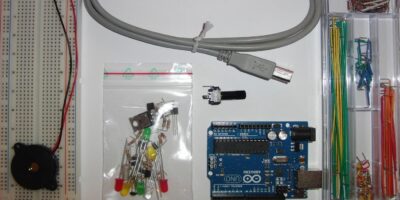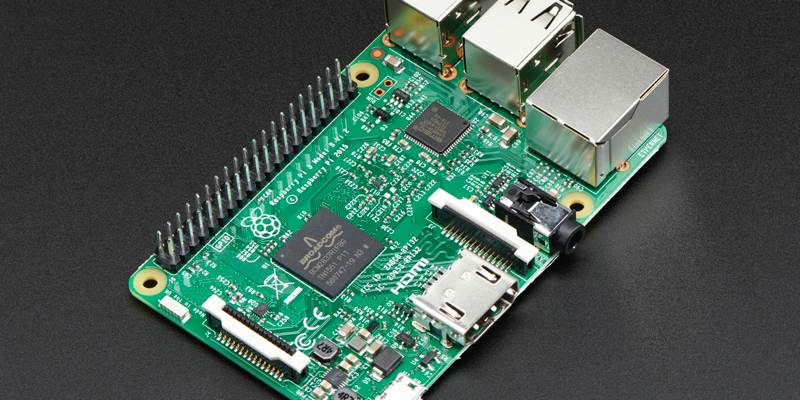
There are plenty of great Internet of Things projects you can put together using a Raspberry Pi. You’ll need some extra hardware and software for many of them, but it’s still a great base platform. Even so, if you’ve never used a Raspberry Pi before, you may not be sure how to get started.
What You’ll Need
Before you get started setting up your Raspberry Pi, make sure you have everything you need. If you bought your Pi as part of a kit, you may have everything you need already. Still, it can’t hurt to run down the list.
You’ll need a micro USB power adapter as well as a microSD card. The microSD card is what you’ll be loading your operating system on, so make sure you have enough room. You want at least an 8 GB card, but more storage can’t hurt.
At least until everything is set up, you need a computer monitor or TV as well as an HDMI cable to plug into it. You also need a keyboard and a mouse.
To set up your Raspberry Pi, you’ll need to access the Internet. This means you need either an Ethernet cable to plug into the onboard network adapter or a USB Wi-Fi dongle.
Finally, if you want to get started immediately, you should have any IoT-specific hardware like sensors ready to go.
Decide on Your Operating System
You have plenty of options for your OS, but the decision basically comes down to which Linux distribution you’re going to install. Raspbian is the “official” Linux distro and what we’ll use in this tutorial, but there are other more IoT-focused options.
Windows IoT is also an option, and people who use it seem to like it quite a bit. You should keep in mind that most of the Raspberry Pi-based IoT projects you’ll find are Linux-based, so you’ll have an easier time getting started with Linux.

Prepare to Install the OS
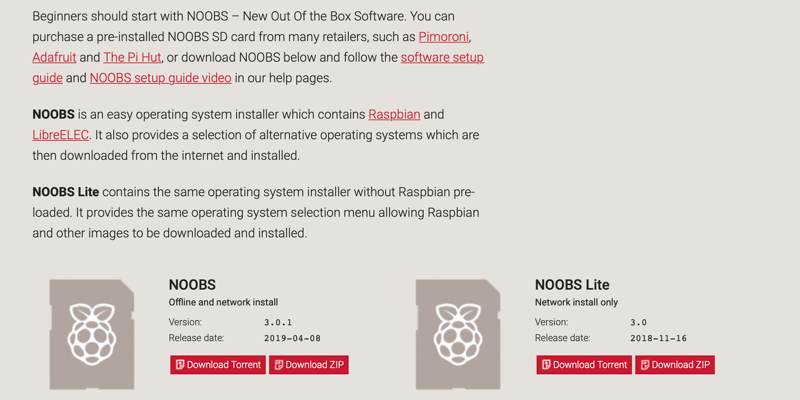
We’ll be using NOOBS (the acronym stands for New Out Of the Box Software) to download and install Raspbian. Head to the Raspberry Pi downloads page, and click on NOOBS to download. Once the download is complete, right-click the .zip file to extract it.
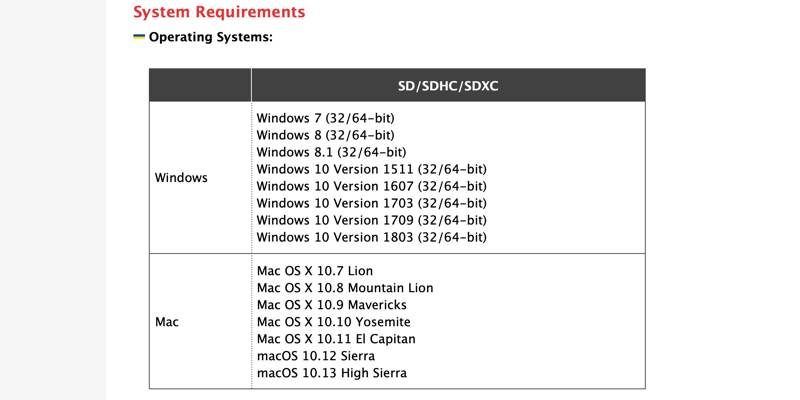
Before you copy files to the SD card, you’ll need to format it as FAT. On Windows you can use the SD Card foundation’s formatting tool while you can use the built-in Disk Utility on macOS. Linux users can use Gparted.
Copy the files from the downloaded NOOBS .zip file to the SD card. Note that you’ll want to place these on the very root of the card, not in the folder they might have extracted to.
Booting for the First Time
Put the microSD card into the slot on the Raspberry Pi and power it on. Assuming everything is plugged in correctly, you’ll notice some LEDs flash, and the display should show the system loading.
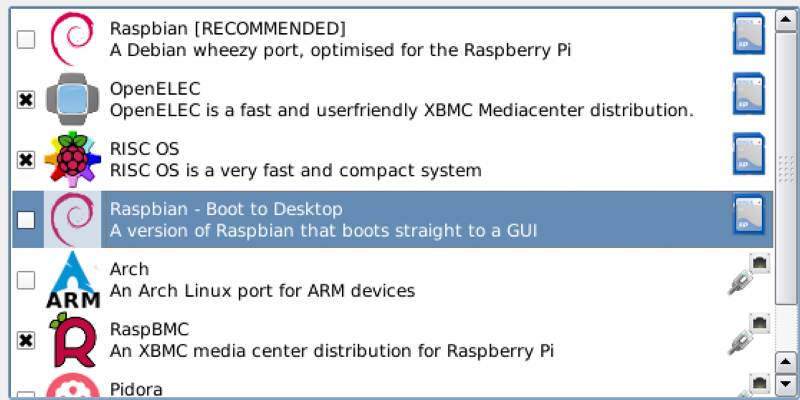
The software will ask you which operating system you’d like to install. Choose Raspbian and follow the prompts.
Now it’s time to replace the default password, which comes set as raspberry.
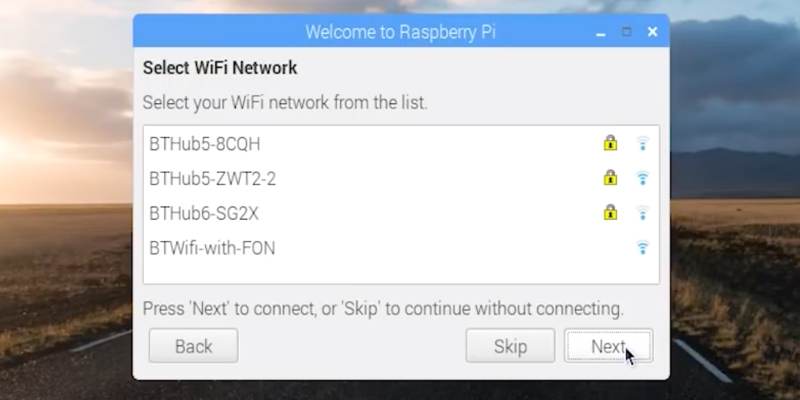
After this, the rest of the setup process is like setting up any other Linux system. You’ll set up your keyboard, select your location, and connect to the Internet. Once this is complete, the installer will download any available updates over the Internet.
After this the system will reboot, and you’ll be ready to use your Raspberry Pi.
Conclusion
As you’ve seen, it’s easy to get started with IoT projects on a Raspberry Pi. Now that you have yours up and running, you’re probably itching to put together a project. But what if you don’t have any inspiration?
Fear not, as we have a list of IoT projects you can build using a Raspberry Pi. These will help you practice but can also serve as a base for larger, more involved projects.
