We tend to think of Bluetooth as something simple, and in a way it is. It’s a wireless communications protocol, but a lot of people think of it as a way to use headphones without a cable. Bluetooth can do a whole lot more than that.
One example is indoor positioning. This lets you track movements inside much as you would with GPS. The only difference is that instead of satellites, you’re measuring where people are using devices they carry and a few Bluetooth beacons.
How Does Indoor Positioning Work
Indoor positioning uses a system known as Trilateration. If you have any basic math experience, this will probably seem familiar. It’s like triangulation, only it doesn’t use the measurement of angles in its calculations. Instead, Trilateration measures distances.
This is handy for plenty of different environments. Indoor positioning can help guide customers around a mall or even a single store. It can also help guide employees around large company campuses.
In more private environments, indoor positioning still has its uses. For example, you can use indoor positioning to track where a certain piece of equipment is to ensure it doesn’t get lost.
Getting Started
Before you set up indoor positioning, you’ll need Bluetooth beacons to perform the Trilateration. You can find cheap beacons on Amazon, but if you’re setting this up for a company, you may want to see if an existing IoT tech supplier offers them.
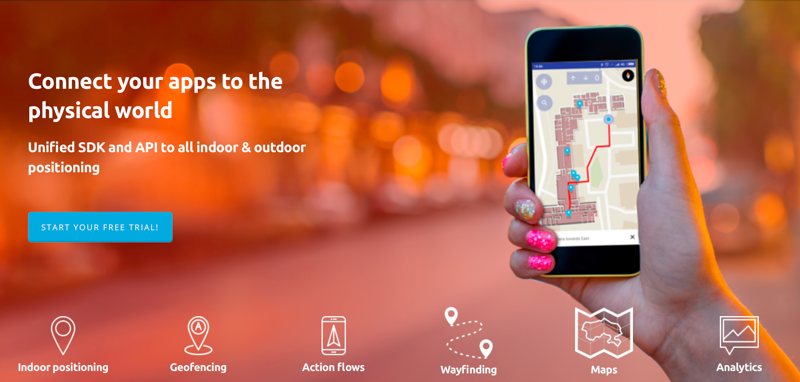
You might also want a software platform to help you manage the beacons. There are a few such platforms out there, but one popular example is Proximi.io. This isn’t cheap, but for corporate use, it might help to make everything easier.
Setting Up Indoor Positioning
Before you start placing beacons, you’ll want to map out where you plan to place them. Start with corners, and keep the range in mind. Most Bluetooth beacons have a range of 20 to 30 meters or 65 to 100 feet.
Having more beacons is better than having too few. Overlapping areas can actually help make Trilateration more effective. Make sure to watch out for metal and concrete, as these can block the beacons’ signals.
Installation
Now that you have a plan, you can begin installing your beacons. You’ll want to place them fairly high up, ideally two to three meters or six to ten feet. Walls, low ceilings, and columns are all good areas to place them.
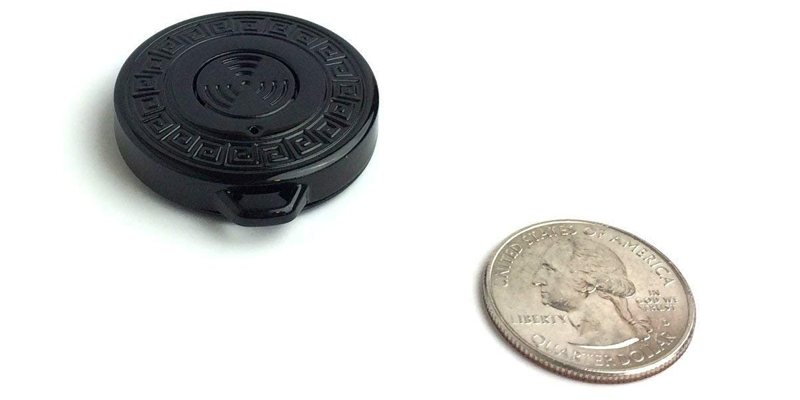
For Trilateration to work, you need line of sight, so watch out for obstacles. Placing beacons behind metal lighting fixtures won’t work, for example. Do try to keep them out of reach of hands, just to make sure they don’t go missing.
Ideally, you’ll have beacons near entrances and exits so you can track when people enter and leave. You’ll also want to place them near stairways or elevators if you have them, so you know when people change floors.
Finishing Up
Once you’ve finished the installation, you’ll want to test that everything works. If you’re using a system like Proximi.io, this has its own software. If that isn’t the case, and you’re using off-the-shelf hardware, it often has its own iOS or Android apps you can use.
No matter what you’re using, you’ll want to move through the areas where you’ve placed beacons and make sure everything works as planned. If you find areas without coverage, either add more beacons or move existing ones.
