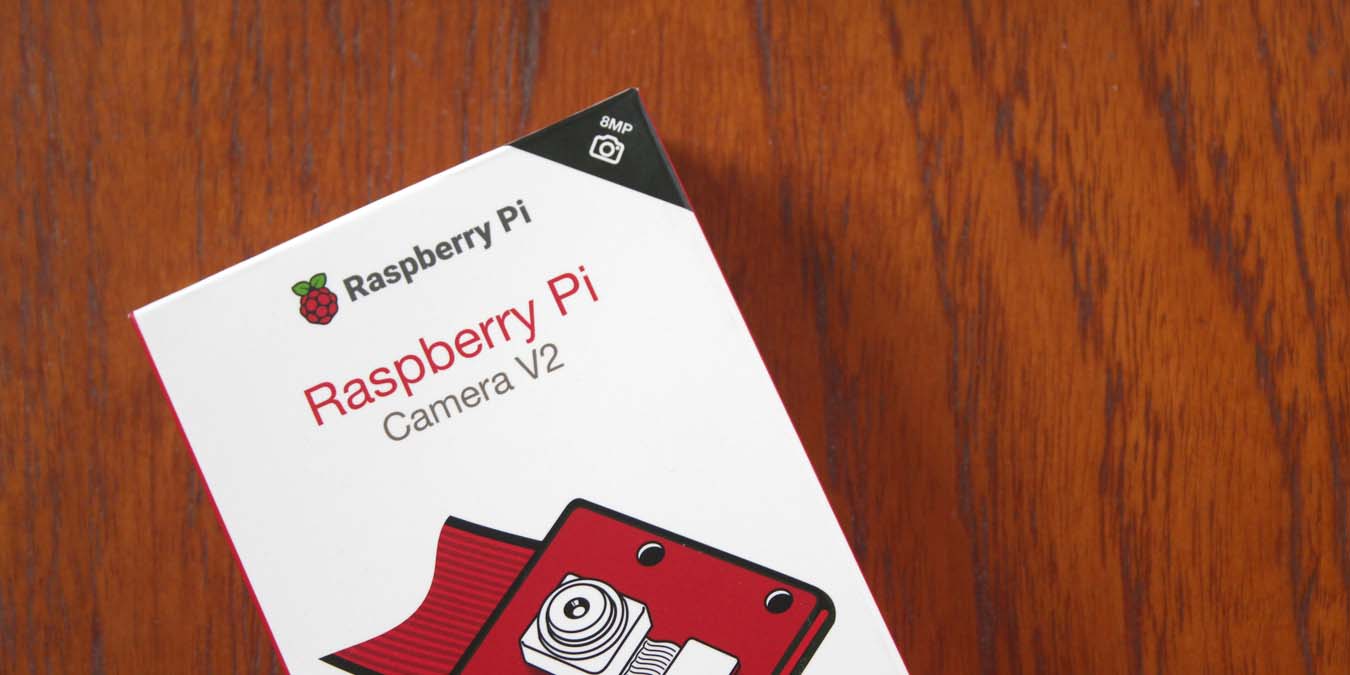
The versatile single-board computer from the UK, the Raspberry Pi, is a firm favorite among makers and tinkerers and Linux hackers the world over. It’s small, it’s light, it’s easy to use and set up, and with the launch of the new Model B version 4, it’s really quite powerful.
But almost as interesting as the board itself are the kinds of peripheral gizmos you can attach to the main board. Most of these are third-party hats and other add-ons, but one of the most popular ones is the official Raspberry Pi camera.
Raspberry Cam
The RasPi camera module is a small square board on a ribbon cable which plugs into the camera slot on the Raspberry Pi boards (all of them) and adds camera functionality. The original version 1.3 camera (on the left) was a 5-megapixel still camera and a full HD 1080p 30fps and 720p 60fps video camera.
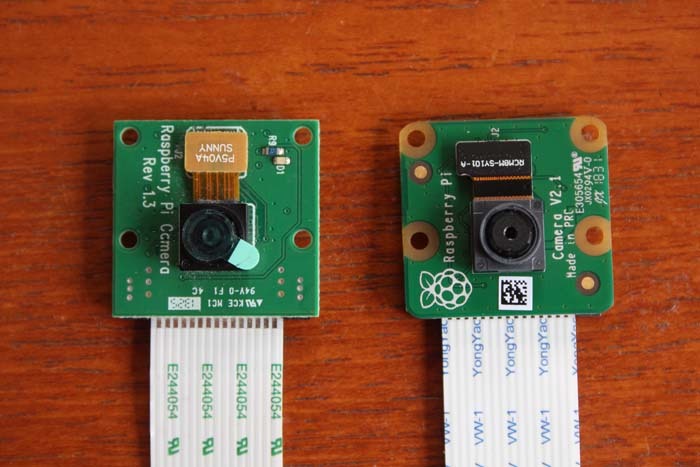
The new v2.1 (on the right) is simpler and faster and better in a number of important ways, but the most important difference is that it’s now an 8-megapixel still camera. In all other ways it’s the same, and it fits all Pi boards (even the Pi Zero with an adapter) and runs the same software as before.
Using the camera is very easy: you just fit the ribbon cable to the camera slot on the board.
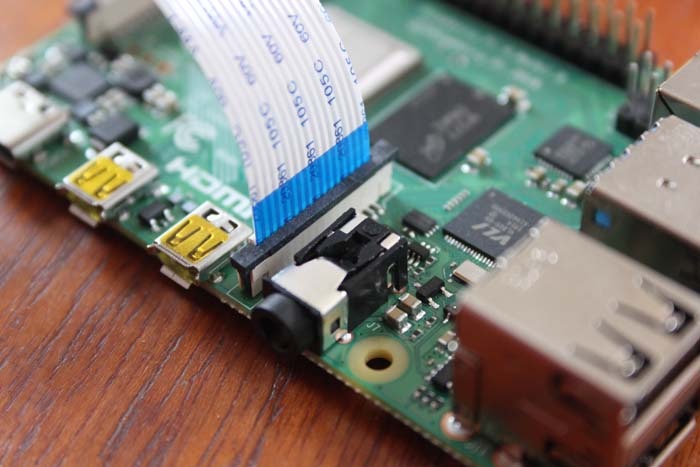
Next, turn it on in the Raspi-Config program, either using the desktop menu or through the command line. Taking pictures and video is a bit more fiddly, requiring you to type in the command line:
raspistill <span style="color: #660033;">-o</span> <span style="color: #000000; font-weight: bold;"><</span>filename<span style="color: #000000; font-weight: bold;">></span>.jpgor
raspivid <span style="color: #660033;">-o</span> <span style="color: #000000; font-weight: bold;"><</span>filename<span style="color: #000000; font-weight: bold;">></span>.h264 <span style="color: #660033;">-t</span> <span style="color: #000000; font-weight: bold;"><</span>duration <span style="color: #000000; font-weight: bold;">in</span> milliseconds<span style="color: #000000; font-weight: bold;">></span>and stills and video are saved to the home directory using the filename specified.
So is the new version worth the effort?
High Quality, High Resolution
The camera has been rebuilt from the ground up, with a new round-edged circuit board, simplified components (that’s to say fewer bits on the board) and a new sensor chip at its heart. The old Omnivision 5-megapixel has been replaced with a brand new 8-megapixel Sony IMX219 module.
What does this mean in practical terms? The new camera has a wider angle of view because the new lens has a lower focal length, 3.04mm to be precise. This means you can get more in the frame. Basically, the bigger image sensor means more of the lens gets captured.
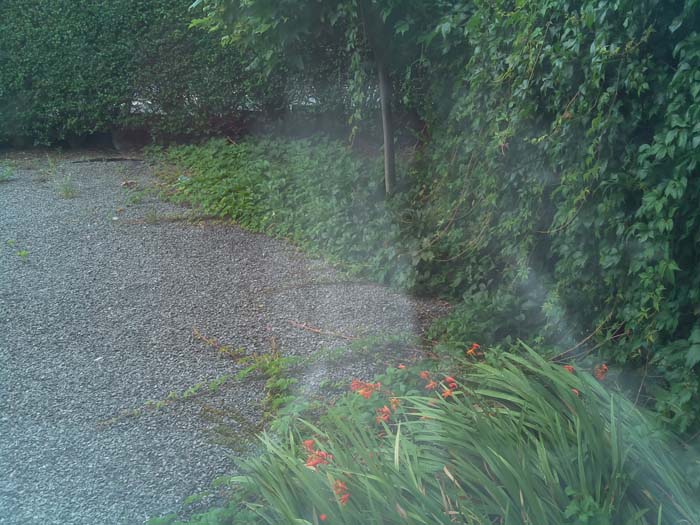
Also switching to a new sensor chip has upgraded the image quality, with much less grain (especially in low light), and it may be my imagination, but it looks like it has better color rendition, too.
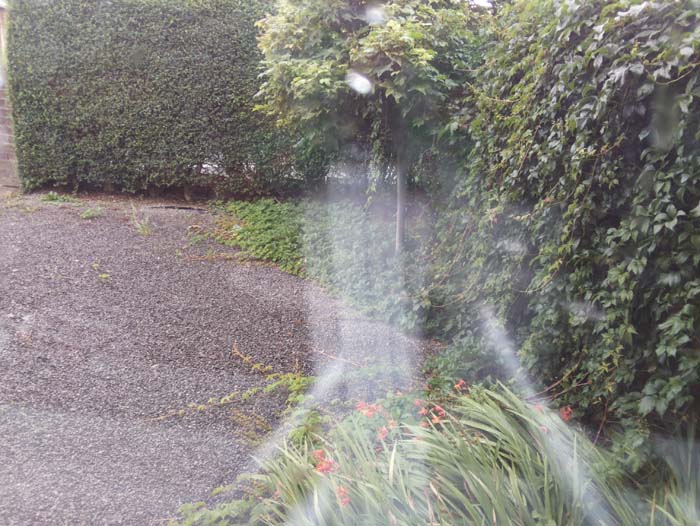
The colors of the green foliage, for example, are much more realistic in the new cam. The 1.3 image looks kind of artificially saturated.
The indoor images from the old camera always looked a little bit dark and yellow, a color-balance problem I would guess. The new camera renders the colors a lot more accurately even in low light.
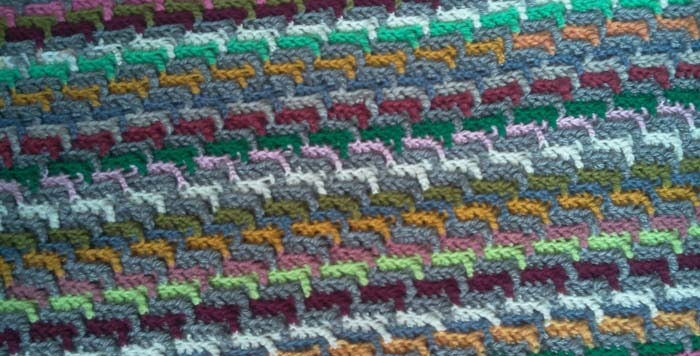
The original camera has a somewhat fake blue color in sky pictures, for example, and as a photographer, that always rubbed me the wrong way.
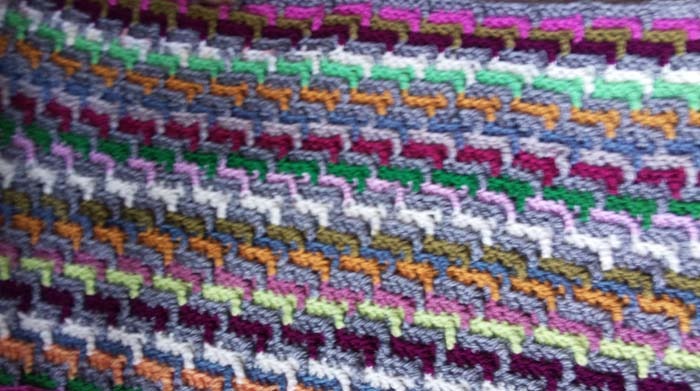
Overall, I think the quality is superb and so much better than the original.
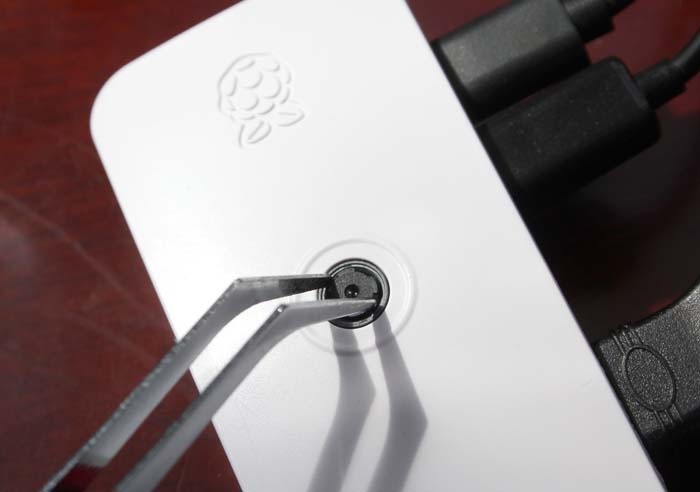
One thing you should be aware of is that the original camera shipped with the focus preset to infinity. The new v2 cameras, or at least some of them, ship with the focus set to 1 to 2 meters, which means your shots and videos can look a bit soft. The focus is easy to adjust with a pair of tweezers.
Bare Bones Cam
It seems odd to see that considering its higher resolution, sometimes videos taken with the new camera can look a little soft. I suspect this is some kind of built-in image-smoothing algorithm, and it may even be built into the Sony sensor. Don’t get me wrong, it’s not really a criticism as such, but I think it’s important to note.
Now then, it sounds kind of obvious, but I’ll say it anyway: this is a webcam or security cam. This is not a plug-and-go portable camera solution. You have to have a case to put it in and something to bolt it to to get smooth video and sharp photography. There is a rudimentary image stabilization built in, but you have to activate it, and it’s really only to smooth out wobbles when it moves slightly in a breeze. Its not really designed for handheld use.
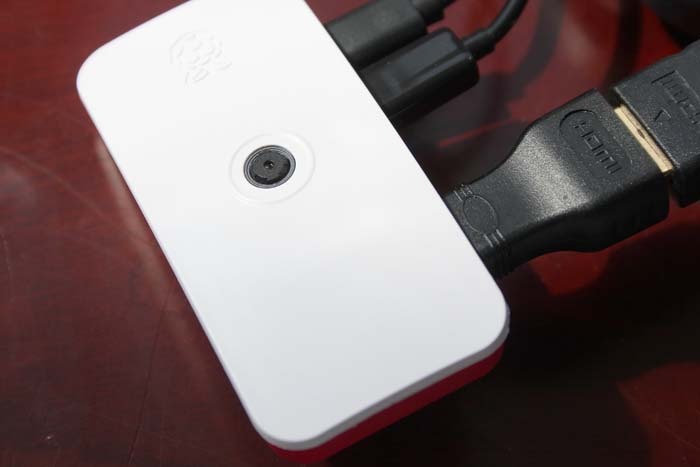
You can just blu-tac it to your monitor, but I can’t recommend that. There are some cases for the Raspberry Pi which enable you to bolt the cam into the top of the case and have it look out of a hole in the top, which can be a very neat and tidy solution.
Also, unless you fit a battery and a portable monitor, you are only going to be taking photos in your room and out of your windows. This is not a snapshot camera, not out of the box anyway.
That would actually be a very cool project, to turn this into a portable camera with a Pi Zero, but this is something which is only possible with extra equipment and programming. I’ll leave that with you!
Conclusion
All of that said, my criticisms are really only small niggles: this is a terrific upgrade and something which could be the basis of some deeply satisfying future photography and video projects with your Raspberry Pi.
And better still the Raspberry Pi camera v2 is around the same price as the old one, $29.95, and fits all Raspberry Pi models. (The Pi Zeros need small cable adapters to fit into the Zero’s narrower slot.)
