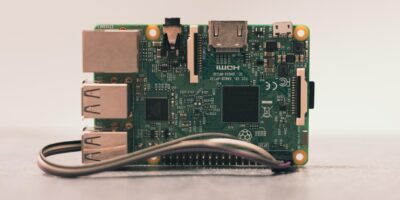
Ever had too many IoT devices all at once? Having to synchronize all those would be a pain without a home automation hub. Here’s how you do it with the OpenHABian and Raspberry Pi!
What’s OpenHABian?
OpenHABian is an OS for the Raspberry Pi that lets you automate your smart home. For example, suppose you have a smart doorbell with wireless capabilities. If you want to share the feed with other devices, you can set up OpenHABian to be the link between your smart doorbell and the other apps and devices you have.
What You Need to Install OpenHABian
To install OpenHABian, you’ll need six things:
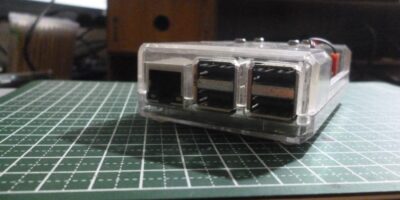
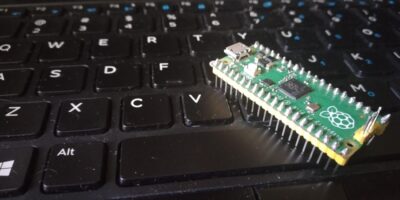
- A Raspberry Pi (you should use the Raspberry Pi 4 if it’s available. It can run on the Raspberry Pi 3, but you might notice it being slow sometimes.)
- A memory card
- OpenHABian OS image file
- An OS flashing tool (like Balena Etcher)
- An ethernet cable
- An internet-ready router
- A separate computer with SSH capability
With that said, installing OpenHABian can be a little tricky for beginners. You’ll have to flash the basic OS image to your memory card, then download the rest from the internet by connecting your OpenHABian-ready Raspberry Pi to a router.
How to Install OpenHABian
Installing the Flash Image
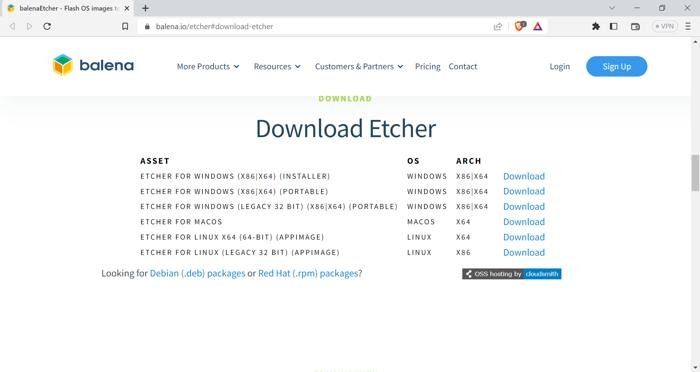
- Download a copy of Balena Etcher (I suggest you take the portable version).
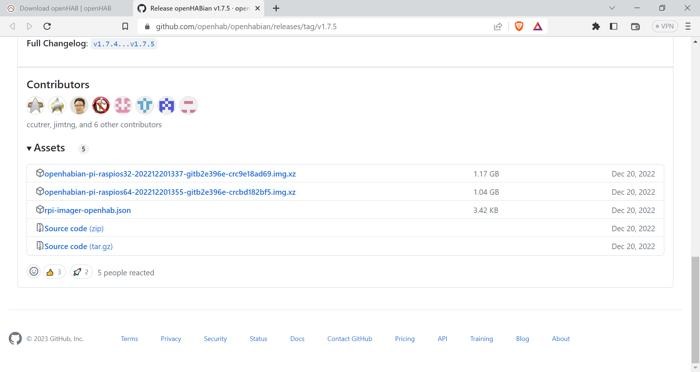
- Download OpenHABian. Select the Stable version, then click on “Latest openHABian System Image.”
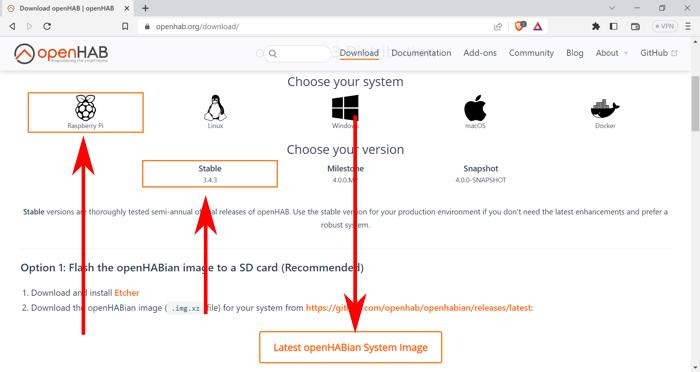
- You will be sent to a GitHub repo. Scroll to the bottom and click on a file that ends in “.img.xz” to download the OS image file.
- Connect your memory card to your computer.
- Run Balena Etcher. Click “Flash from file” and select your OpenHABian ISO image.
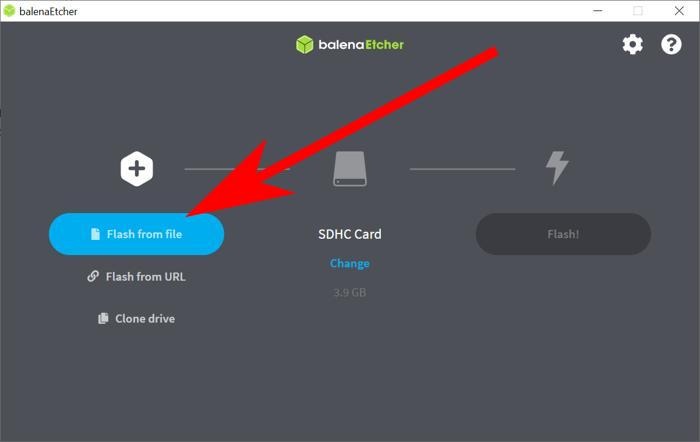
- For the memory card, Balena Etcher should automatically detect it. If not, you can click on “Select Target” and pick your memory card. Make sure it’s cleanly formatted with no files in it.
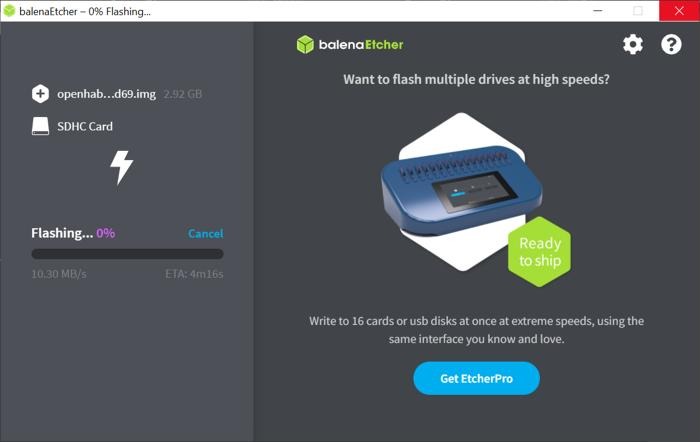
- Click on “Flash!” and wait until Balena Etcher stops flashing.
Configuring and Connecting to OpenHABian
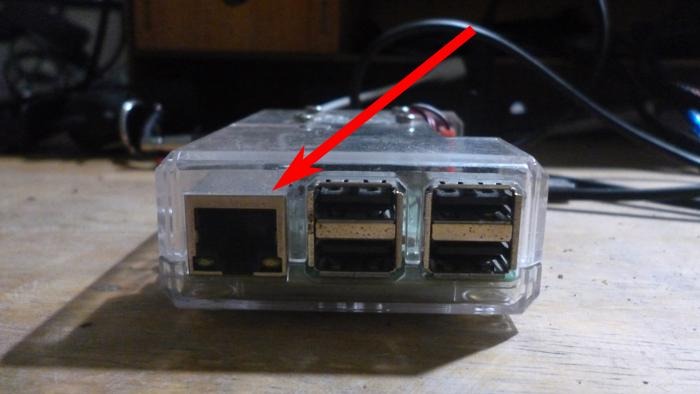
- Plug the memory card and ethernet cable into your Raspberry Pi. Connect it to a power supply to power it up.
- You’ll have to wait for OpenHABian to finish installing and configuring itself. This can last for somewhere between 15 minutes to about an hour, so be patient.
- On a separate computer connected to the same network, connect to OpenHABian by going to SSH and using “openhabian” as the host name and using port 22.
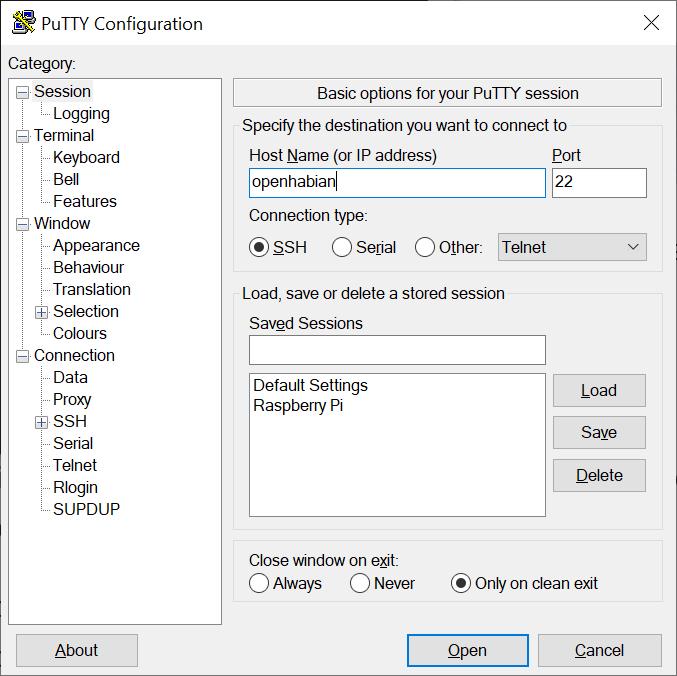
- If you see a login screen, there are a couple of username:password combinations you can try:
- openhabian:openhabian
- raspberry:pi
- pi:raspberry
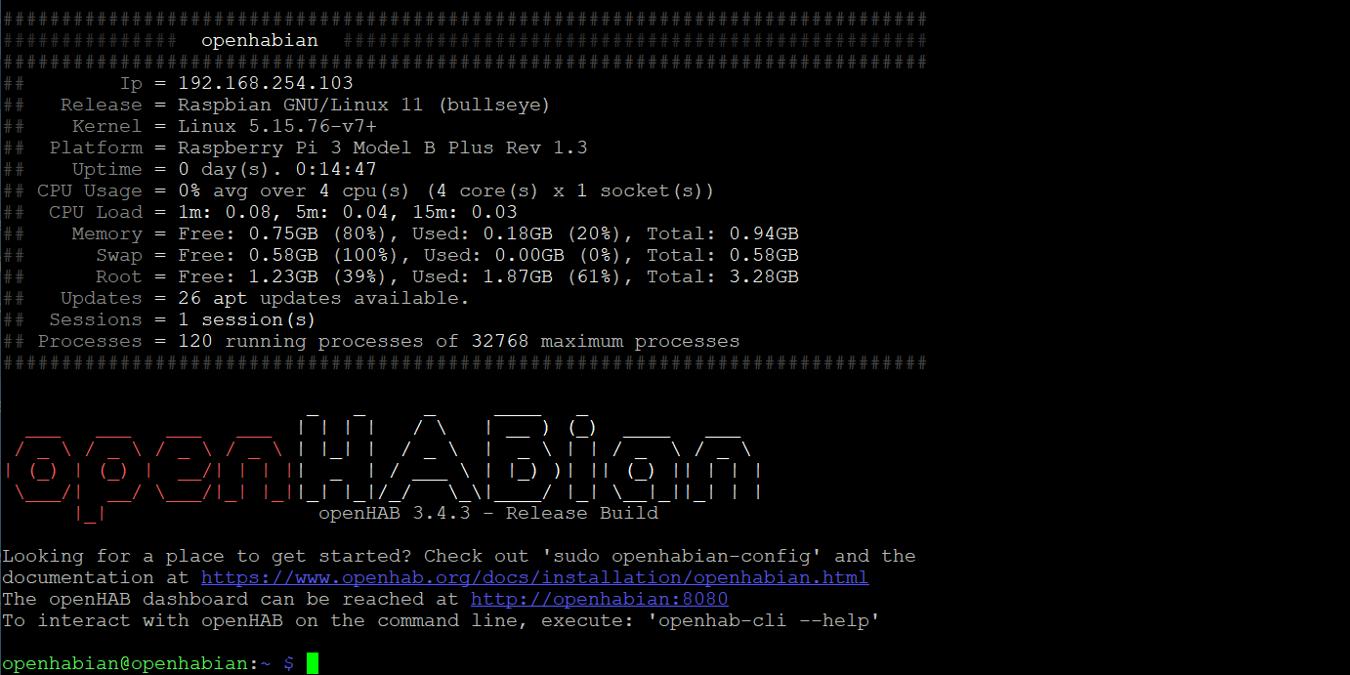
- Once you see the home screen, congrats! You’ve installed OpenHABian into your Raspberry Pi. Now to use the dashboard, open an internet browser on your computer and go to the URL
http://openhabian:8080.
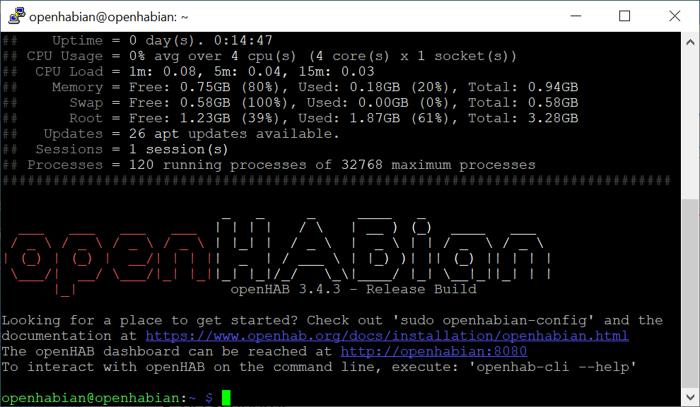
That’s it. You are done installing OpenHABian on a Raspberry Pi.
What’s Can You Do With OpenHABian?
Having OpenHABian on your Raspberry Pi is less then half of what it takes to make a home IoT network. But with this, you can:
- Build an MQTT broker
- Create a UI and custom dashboard
- Integrate with voice assistants
- Analyze data from sensors
The list goes on, and the only limits are your computer-talking skills and whatever parts you’ve got on hand!
Frequently Asked Questions
Do I need a separate monitor to use OpenHABian?
OpenHABian is meant to run in a headless setup. This means you won’t ever need to use a monitor (and keyboard) to use it. But if you really want to, you can still use a monitor and keyboard to control it directly. It’s also helpful to have a spare monitor on hand in case something goes wrong with the installation.
What is the difference between OpenHAB and OpenHABian?
OpenHABian is the Raspberry Pi-version of the OpenHAB Home Automation Hub. They are almost the same thing.
Should I install OpenHABian 32-bit or 64-bit?
The 32-bit OpenHABian works on all Raspberry Pi platforms. This is because all Raspberry Pis come out with 32-bit processors. You can use the 64-bit version if you are using the Raspberry Pi 3, Raspberry Pi 4, or Raspberry Pi Zero 2. This helps with compatibility with some closed-source programs that only run on 64-bit systems.
