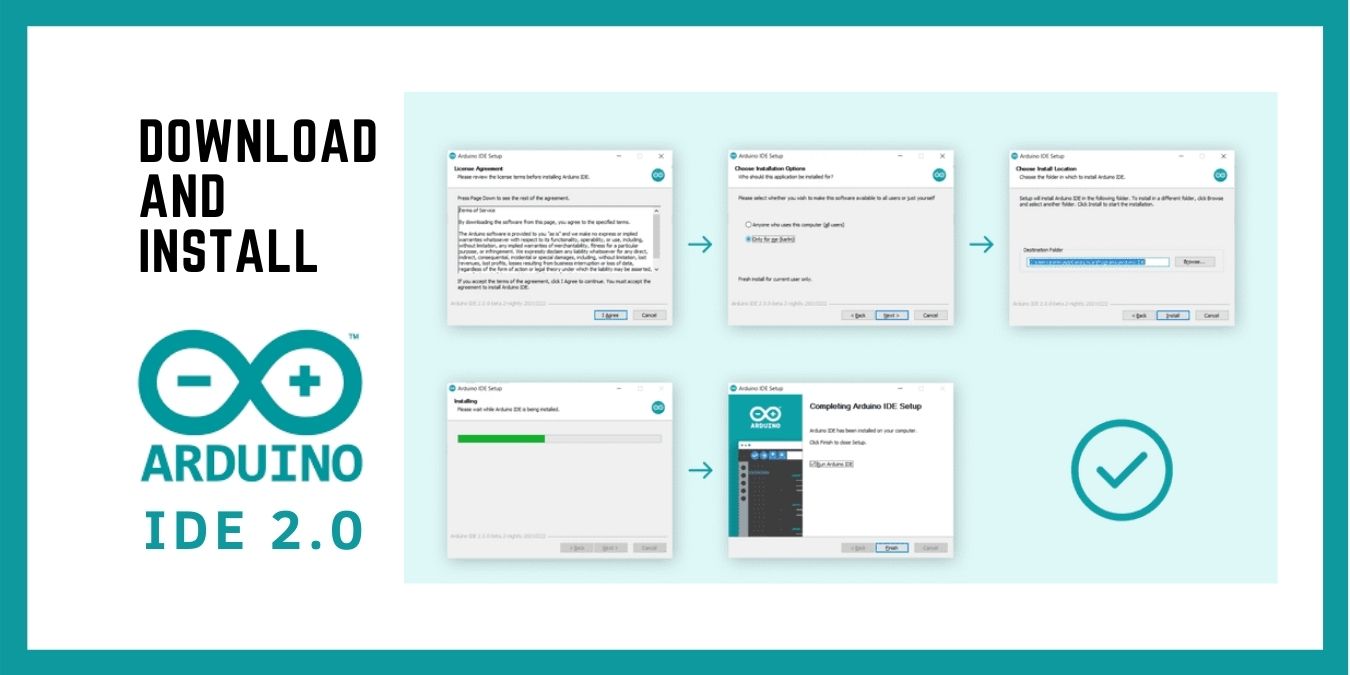
Arduino IDE provides an interface for programming a variety of development boards and MCUs. The IDE is compatible with more than 1,000 official and non-official boards with basic code editing functionalities. Hence, Arduino IDE is widely used by embedded developers and hobbyists. This March, the company announced its next version: Arduino IDE 2.0, with more features and editing functionalities. Although the IDE is still in the beta phase, it is available publicly for its users.
The previous version of the IDE was ideal for beginners, as it supported all the basic functionalities. But intermediate and advanced developers demand additional editing capabilities, code indentation, automatic bracket closing, regular expression search and replace and comment toggling.
As the backend development of the previous version was in Java, adding these functionalities was quite difficult. Hence, Arduino IDE 2.0 has its backend on Golang that highlights all the core functionalities of the IDE. This includes providing advanced developers with flexible options for integrating use cases. This article will focus on downloading and installing Arduino IDE 2.0 on Windows 10.
Downloading Arduino IDE 2.0
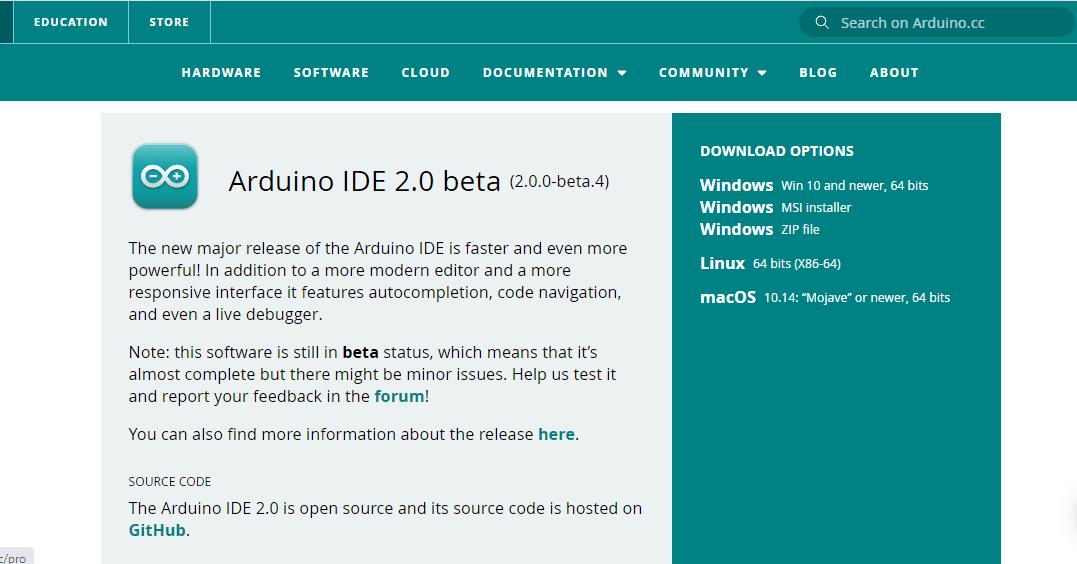
It is assumed that your operating system is Windows 10 and using a 64 bits architecture. Visit the Arduino software page for downloading the executable file of Arduino IDE 2.0. However, you will also find options for MSI Installer and ZIP file download. You can choose any of the suitable options.
Installing Arduino IDE 2.0
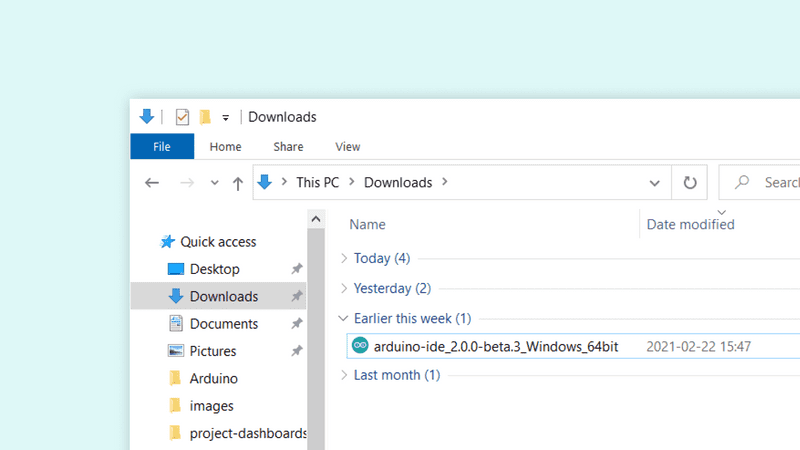
Go to the downloads folder to open the executable file you just downloaded.
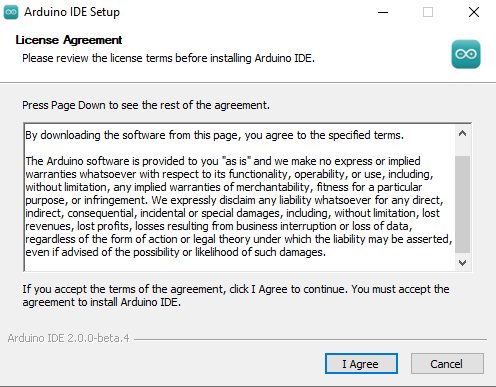
A License Agreement dialogue box will appear on the screen. Read the terms of service and click on the “I Agree” button to move ahead with the installation part.
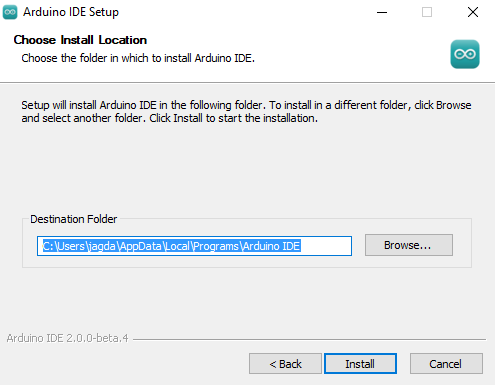
Choose the appropriate restriction for the users of Arduino IDE 2.0, depending on your necessity. Another dialogue box allows you to choose the location to install the software. You can choose the default location suggested by the setup or browse a location according to your requirement. Once you select the location, click on the “Install” button for installing the IDE.
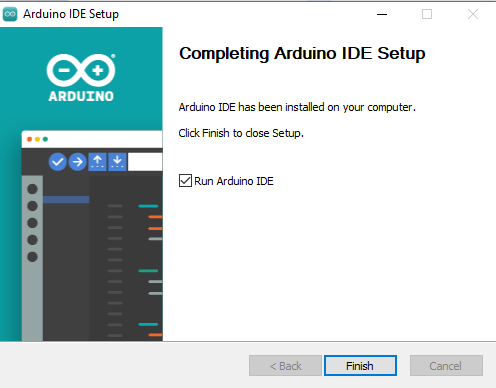
The installation process will take a few minutes, and a shortcut icon of Arduino IDE 2.0 will be created on your desktop. Also, a dialogue box will appear on the screen with a checkbox asking to run the IDE on your system. You can check it if you want to open the IDE. Click the “Finish” button to complete the installation process.
Running the IDE on Windows
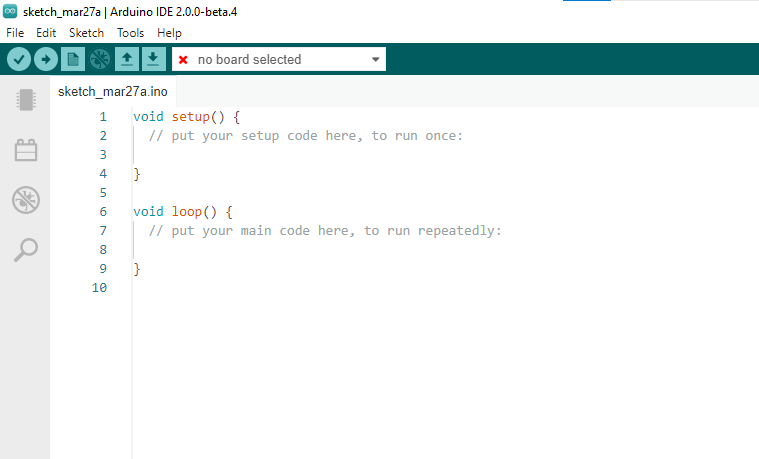
Once you open the Arduino IDE 2.0, the GUI interface similar to the previous version opens. There are already two default functions in the code editor, including setup() and loop(). The name of the instance of the code editor is “sketch_MonthDatea,” according to the present date.
Now you can start using the IDE for programming or coding your applications. There may be a few glitches in the framework, as it is still in the beta version, but the main functionalities should work fine. For information regarding the downloading and installation, visit the official documentation given by Arduino on their website.
The Arduino IDE’s previous version is a quite popular software interface and compatible with many boards. You may also want to read on for more information about installing the previous version of Arduino IDE on Windows.
