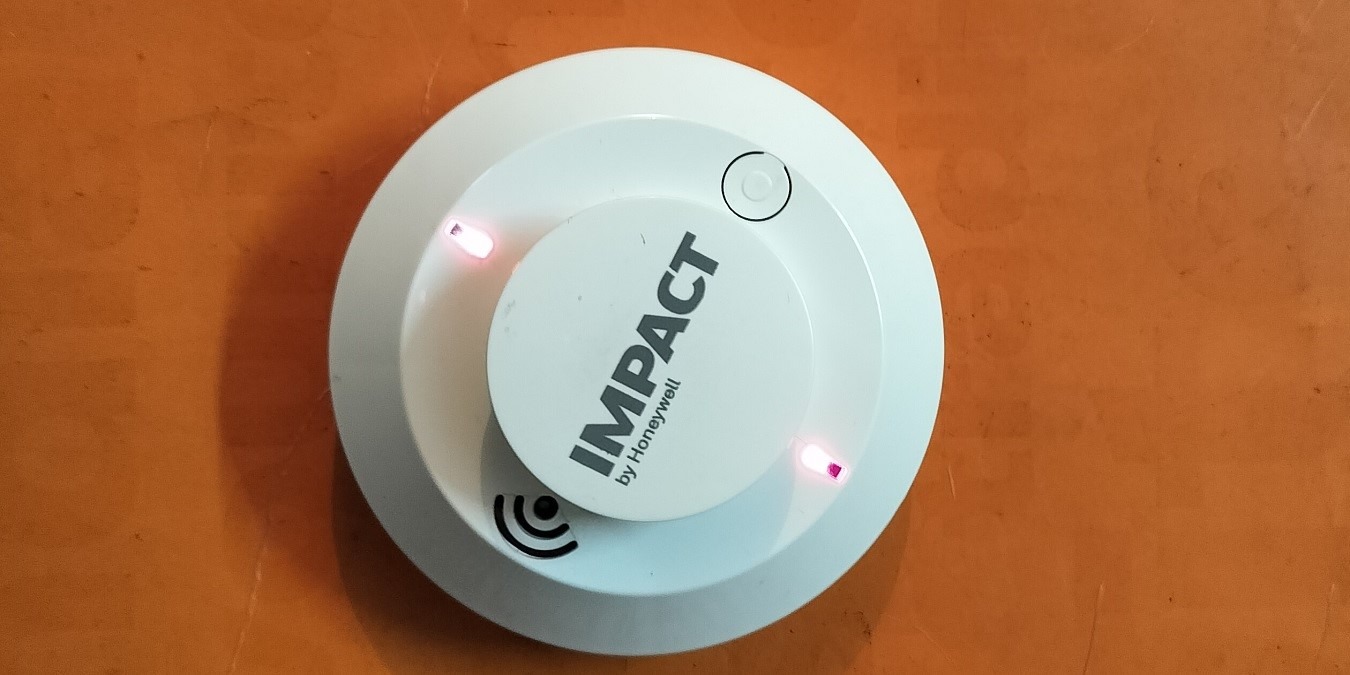
Wireless smoke detectors are the latest kind of smoke detectors and alarms which don’t require any electrical installation or maintenance as they can fully operate on wireless networks alone and can be controlled by mobile apps and smart speakers. With these smoke alarms, you receive instant notifications on your mobile apps and smart speakers such as Alexa. This means you don’t even have to be at your home in the event of an accidental smoke hazard.
Let’s find out how do wireless smoke detectors (or alarms) really work, how to install one in your home network, and how to test them in a fire situation.
How Wireless/Wi-Fi Smoke Detectors Work?
Wireless/Wi-Fi smoke detectors are essentially plug and play devices that operate on store bought batteries and have advanced smoke sensors which can connect to your home’s Wi-Fi network. As soon as there is a presence of smoke or fire in your surrounding area, you will see the smoke alarm LEDs spring into action and start blinking like a regular wall-mounted smoke detector.
Portability, small form factor, and real-time monitoring with iOS/Android apps make these devices more effective than any regular smoke detectors that rely on mechanical components alone.
Due to the presence of tiny smoke detection sensors inside the body of such devices, a wireless sensor is more sensitive to environmental changes in the atmosphere. Whether it’s slow-burning synthetic polyurethane or a cigarette that just got lit up, the smoke detection sensitivity is much greater than a regular smoke detector. As these devices are smart, they can be further finetuned to not blink if there is a false positive, say due to cooking gas in the kitchen.
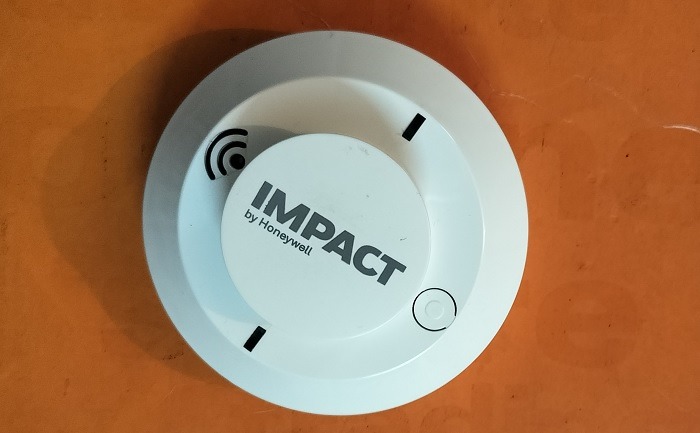
Wireless smoke detectors are a do-it-yourself (DIY) installation smart home accessory used at homes and businesses where the device owner themselves can self-install the product without any electrical or wiring requirements.
A latest wireless smoke detector further allows you to receive notifications and alerts on your mobile app/Alexa/Google Home speakers. However, you may need to purchase a subscription plan for the product. The following subscription is for Honeywell’s smoke detection services. It assures mobile notifications and call alerts every time there is a smoke hazard in the installation area.

Now that we have seen what wireless smoke detectors are, and how they work, let’s see a demonstration. The following guide shows how to install a wireless smoke detector by Honeywell. For your specific device, you may need to further refer the instructions manual or the company’s tutorials.
How to Install a Wireless Smoke Detector
After unpacking a wireless smoke detector, you should immediately check for any signs of physical defects or damages. This is for the safety of your home and family members. If you’ve purchased from Amazon. Best Buy, or Newegg, you can always return and replace defective items.
- Flip the wireless smoke detector. It will have a battery compartment or a flap to connect your batteries to. Open this compartment.
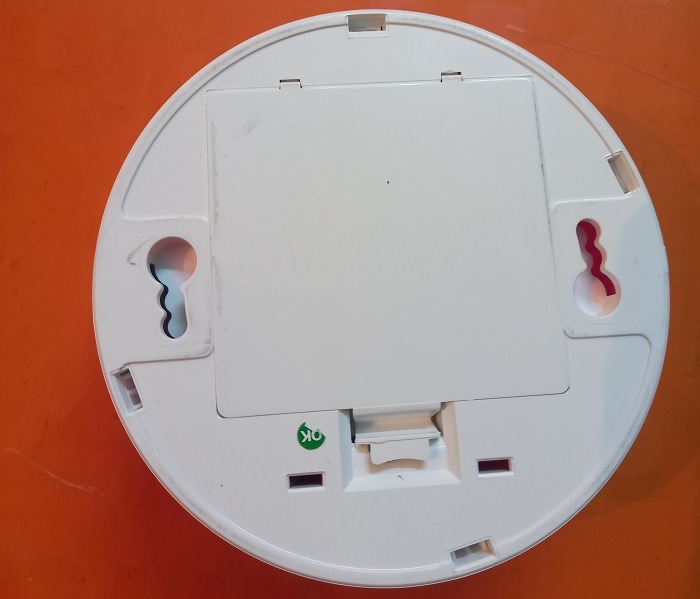
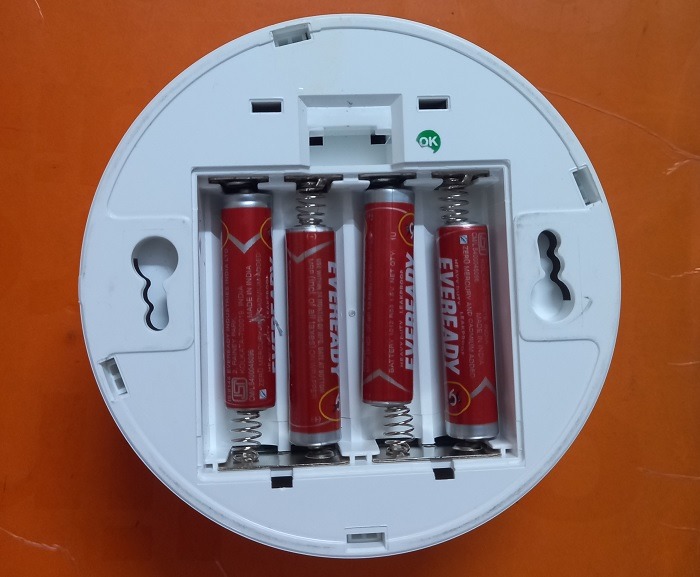
- Check the compartment for the number of batteries which are needed. Refer the company manual for the kind of batteries to be used. Honeywell recommends a total of four leak-proof AA Lithium batteries. Don’t use old batteries in combination with new ones.
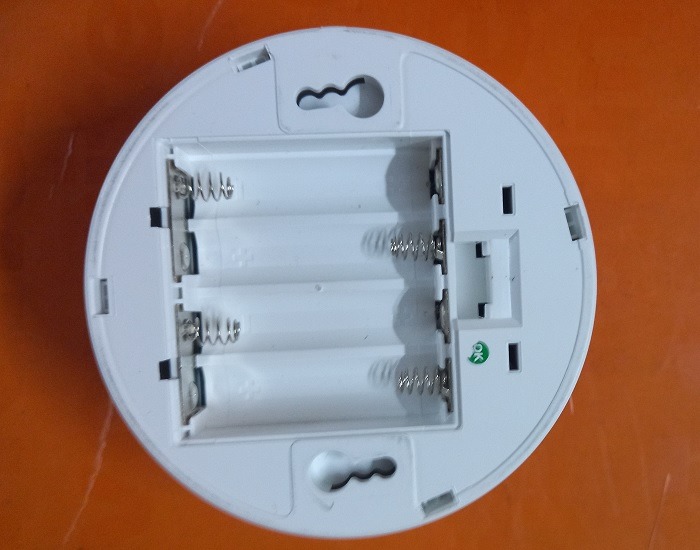
- Insert the batteries by checking the polarities properly. You can always check your battery status later using a connected app.
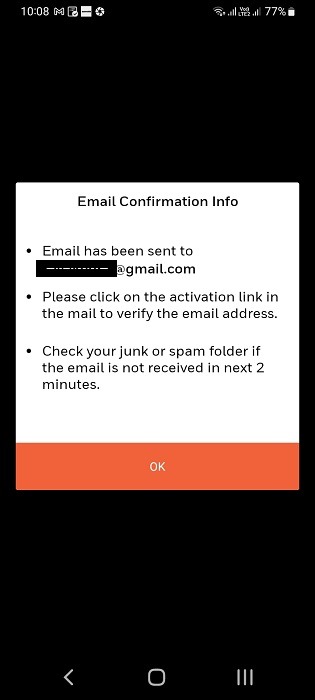
- The smoke detector company will require you to download its app on Google Play/App Store. As soon as you register an account, it will send you an email confirmation to establish a proper connection.
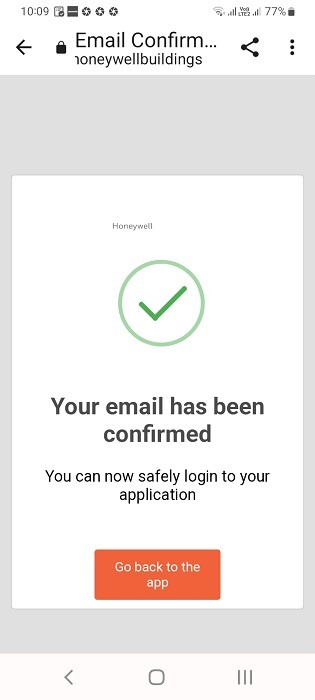
- Check your email and click any confirmation link, or note down a one-time password (OTP) if necessary.

- After our email is confirmed, you need to log in to the app once again.
- Once logged in, go to your app’s setup screen and identify and select the wireless smoke detector.
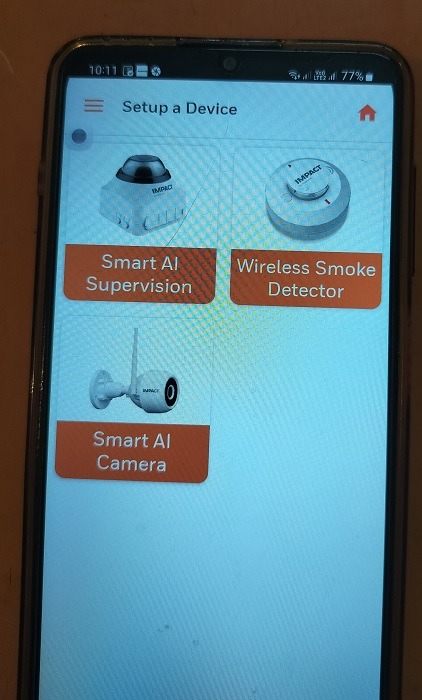
- Wait a few seconds or minutes for the wireless smoke detector to be detected in your network (and consequently, the mobile app.) For this, you have to ensure that the batteries are ON.
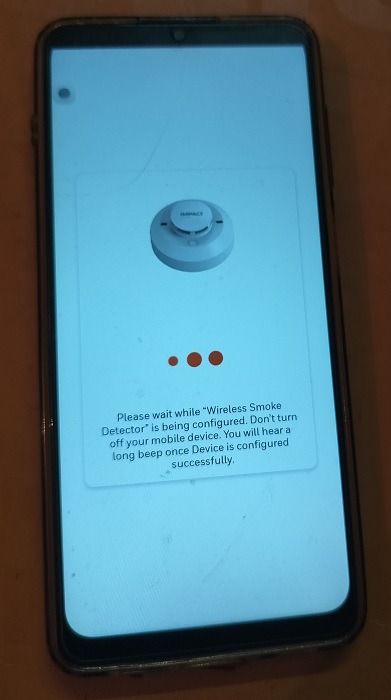
- For wireless connectivity, your smoke alarm has to connect to your home Wi-Fi network. Enter your router’s SSID and password.
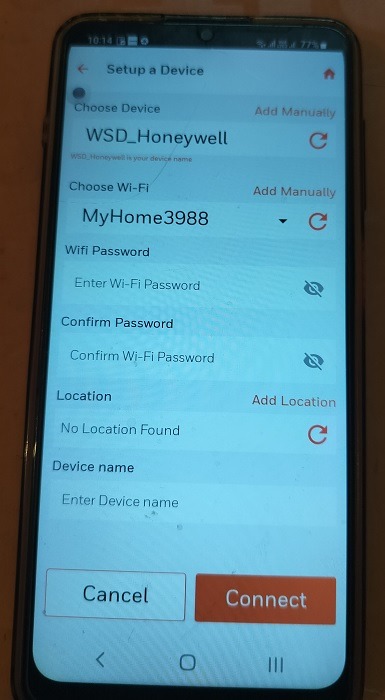
- Follow the on-screen instructions to establish a connection and pairing with the home Wi-Fi network.
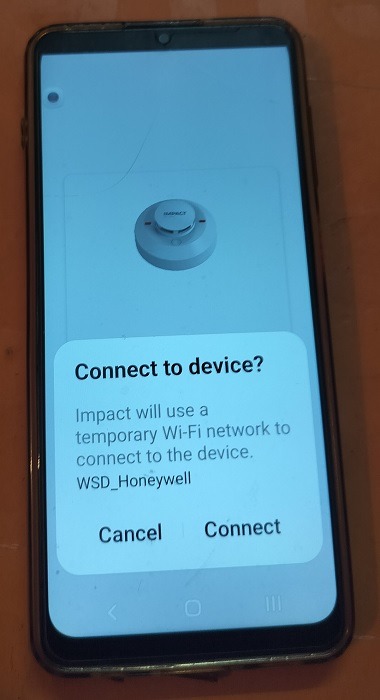
- If your smoke alarm has a device reset button, press it once or a number of times so that it connects to your home Wi-Fi. To learn how a device reset button works, check this tutorial on smart power strips.
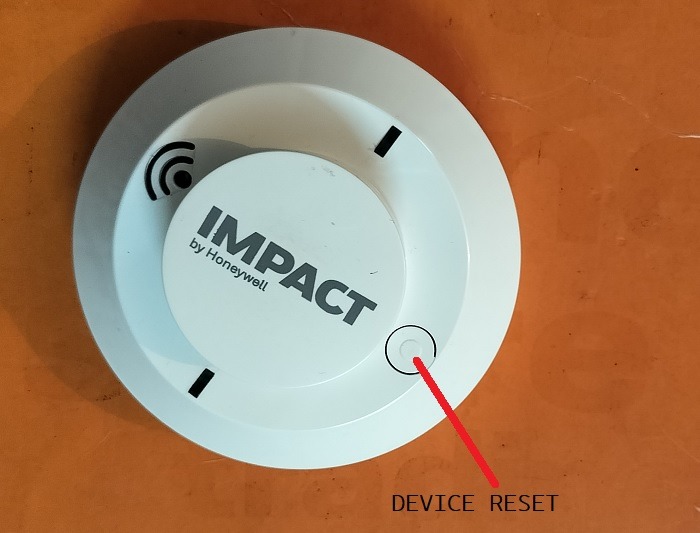
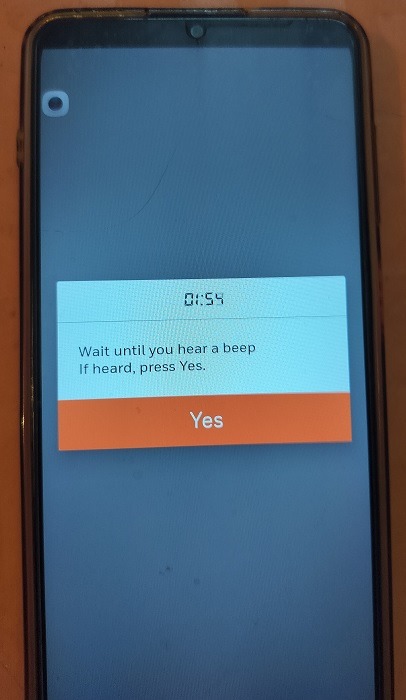
- Once connected, the wireless smoke alarm will trigger a long beep or something similar to alert you that it has been connected. If you don’t hear the sound, recheck your Wi-Fi network and device reset button settings.
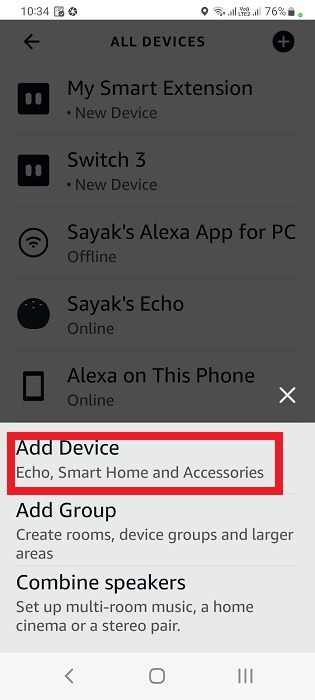
You can always connect your smart home device to Alexa and Google Home to further control them using a smart speaker. Check out our Alexa and Google Home guides for smart plugs, and smart LED batten lights.
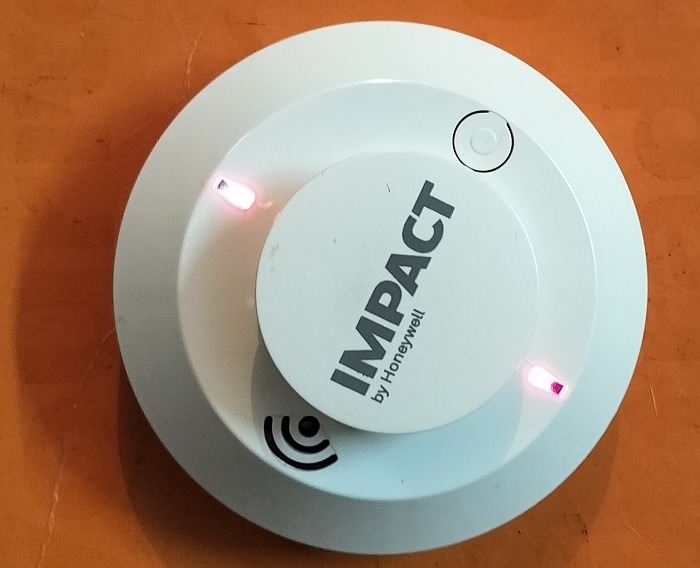
After the wireless smoke alarm device is connected, you can see the lights blinking with various colors depending on the smoke threat severity.
You don’t need to install a wireless smoke alarm on a wall or ceiling panel as these devices work automatically anywhere (however, you can if you want to.) Just put them on a tabletop or any other comfortable location and ensure there are long-lasting batteries inside the compartment. This would give your alarm a long-lasting life span in your home network. If you change your home’s Wi-Fi network password, you will have to reinstall the device again.
How to Test Smoke Alarm
Of course, once a wireless smoke alarm device is connected, you would want to test how it works. If you’re testing with paraffin or other flammable liquids, ensure that it is not anywhere around synthetic materials. Keep the alarm at a sufficiently huge distance (as recommended by your company manual.) Honeywell smoke alarms have a range of 20 meters (~60 feet).

As soon as there is a smoke instance, you will receive a visual or buzzer alert on your app screen. Apart from constantly analyzing your home’s perimeter for any accidental smoke hazard, a Wi-Fi/wireless smoke detector can send updates on your phone for various parameters such as buzzer alerts, battery condition and Wi-Fi connection status.
For more advanced alerts, you will need to purchase a monthly or annual company subscription. Those plans may require a registered and valid phone number. These smoke alerts can also be received on WhatsApp.
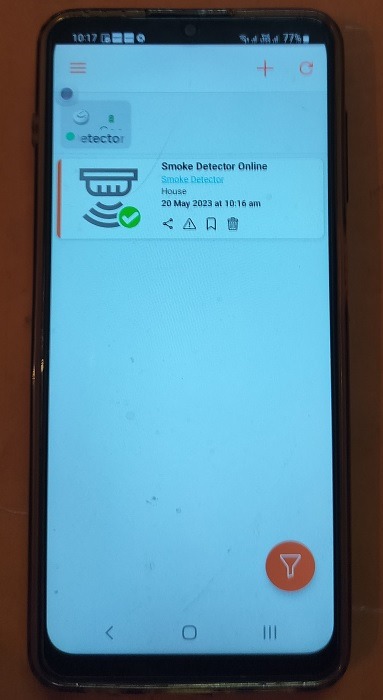
If you are using a wireless smoke alarm with Alexa or Google Home speakers, they will alert you every time there is a hazardous smoke incident. You can also pose questions to Alexa/Google Assistant:
- “Alexa, do I have any smoke alarms at home?“
- “Hey Google, are there any smoke alarms right now?”
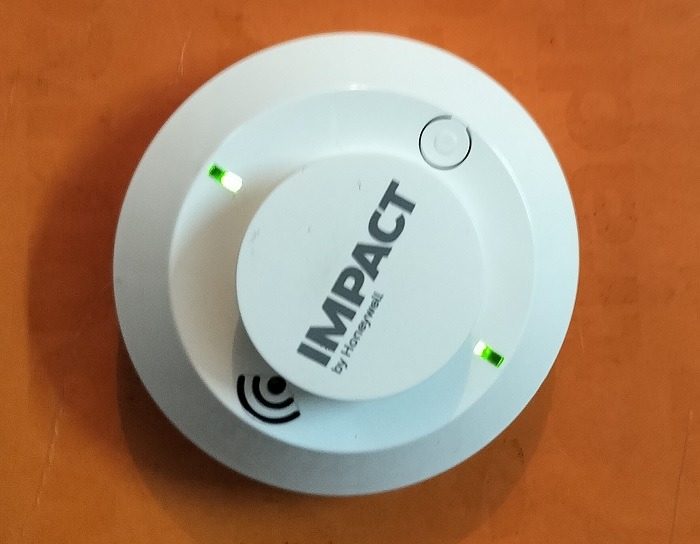
You can also receive phone notifications. That is why it’s recommended to purchase a smoke alarm device from a reputed company which can provide real-time alerts. Google Nest Protect is one of the most popular wireless smoke detectors on the market. Other leading manufacturers of Wi-Fi/wireless smoke detectors include Honeywell, GE, X-Sense, and OneLink.
Frequently Asked Questions
How do I reset a wireless smoke alarm?
If your wireless smoke alarm is failing to work properly, you will need to reset the device. First visit the manufacturer’s app on iOS/Android, and delete the device from the app. Next you need to press the device reset button (see the steps in this tutorial’s installation,) and reconnect the device.
Is there any difference between a wireless and Wi-Fi smoke detector?
Wireless and Wi-Fi smoke detectors are the same thing, except wireless detectors may have other network protocols. Zigbee and Matter are less commonly used networks for wireless smoke alarms.For most purposes, you can use the term Wi-Fi/Wireless interchangeably as a majority of consumer-centric smart home devices are based on Wi-Fi.
All images and screenshots are by Sayak Boral.


