Your Google Assistant on Google Home or Nest speakers might occasionally give you a connection error message, such as “Something went wrong. Try again in a few seconds” or “There was a glitch. Try again in a few seconds.“
The problem can be due to both hardware and software issues. Follow these solutions to get your Google Home/Nest Mini speaker up and running.
Note: To fix this error, ensure your Internet is working excellently on other personal devices. Being online is an essential requirement for any smart home.
1. Check If the Volume Got Muted Accidentally
Whenever you encounter a “something went wrong” or “there was a glitch” error, you’ll hear it first on the Google Assistant installed for your speaker. It comes across as a low voice with a quivering sound. An important thing to check is that the Google Home/Nest speaker’s volume didn’t get muted accidentally.
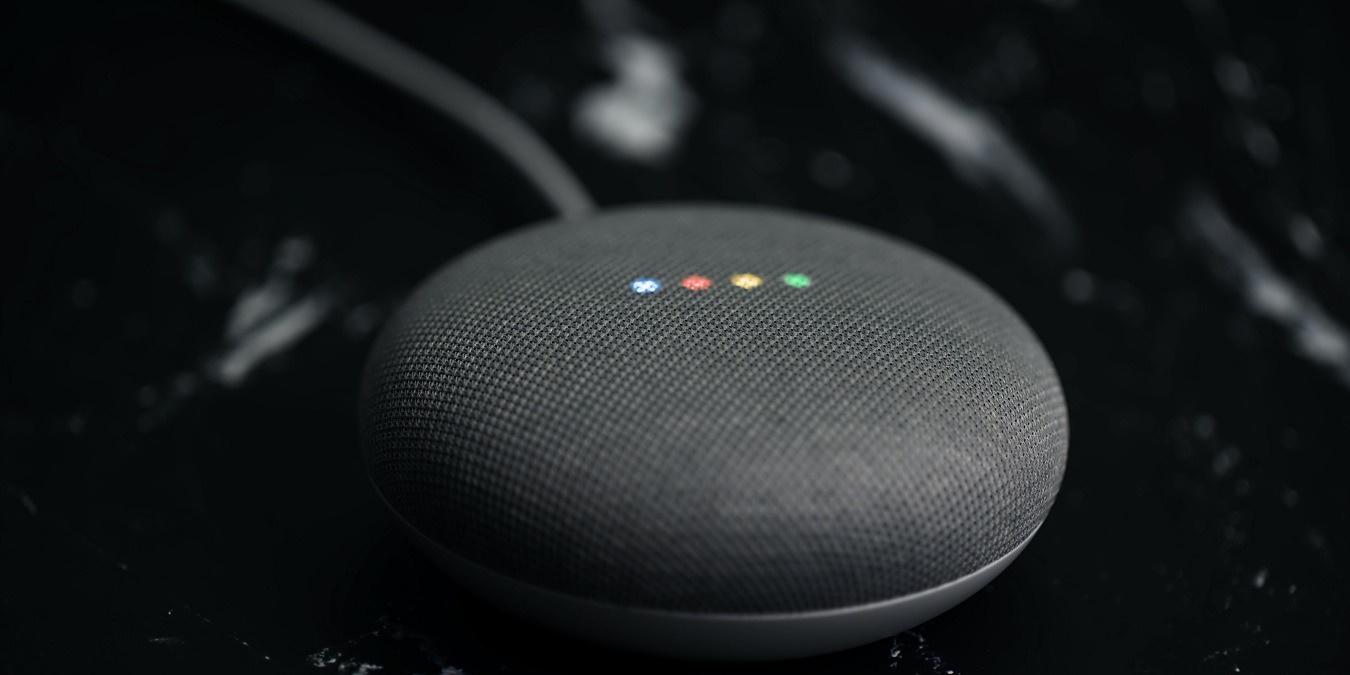
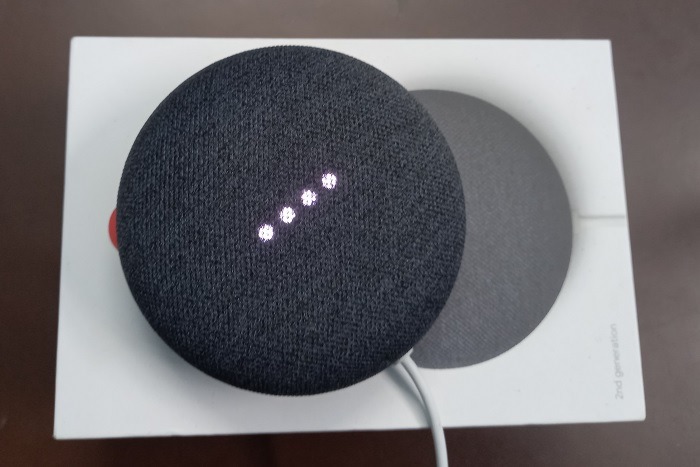
- On a Nest Mini, you’ll see four extremely dim white lights flash when you press anywhere near the left or right of the speaker. Those areas on the Nest speaker correspond to Volume Control buttons. There are actual volume buttons in a Nest Hub/Nest Hub Max speaker.
For those using Google Home or Google Home Mini, you’ll just see one centered white light appear on top to depict that the device is mute.
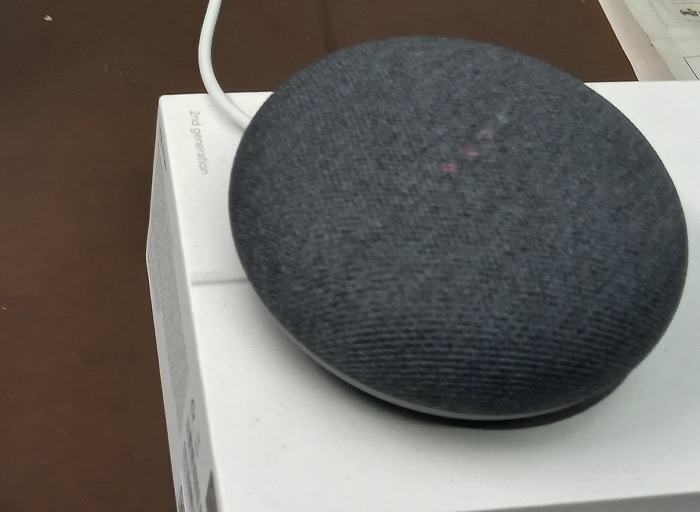
- Keep tapping to the right ten times to increase the volume to its maximum value of 10 (on a scale of 1-10.)
For any Google Home/Nest speakers, the left to right orientation is decided based on the direction in which the USB cable cord connects to the speaker. You will see the number of dots rise steadily with increasing volume.
- Once all four white lights start blinking, use a wake sentence such as: “Hey Google, can you hear me?” If it responds “yes,” that means it has been unmuted and you can use it again.
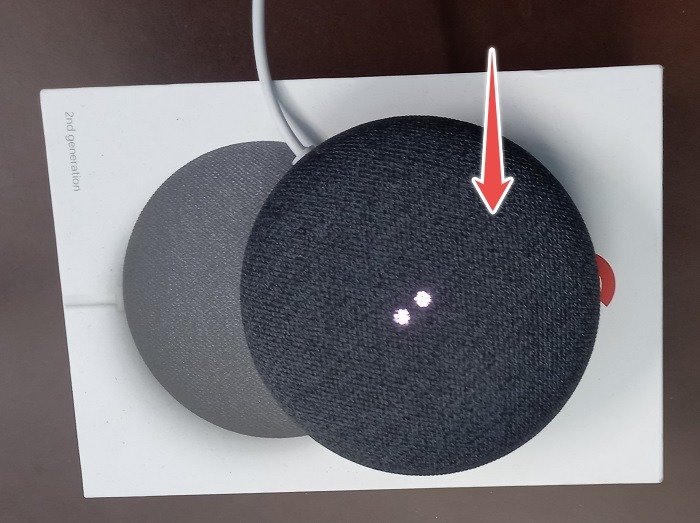
Tip: to avoid muting your Nest speaker volume accidentally, adjust the maximum and minimum volume using your voice rather than touching the speaker or its buttons. Just say, “Hey Google, increase the volume to 8.” or “Hey Google, decrease the volume to 7.”
2. Unplug the Nest Speaker and Reboot It Later
According to Google, a leading cause of Assistant not working is due to nearby devices on the same Wi-Fi network. It won’t be an issue if you just have a laptop or Android TV connected, but if there are other smart speakers, microwave ovens, baby monitors, and routers on the same 2.4 GHz band, it can cause interference.
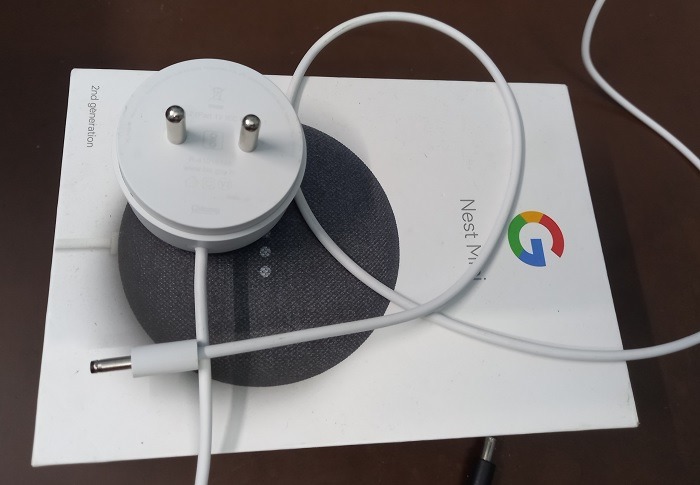
That’s why it’s so important to place your Nest device in an isolated area in the room avoiding wall partitions and window outlets.
I didn’t have to change my speaker’s default location. But it greatly helps to disconnect your charger cable cord and keep it aside for a while. Anywhere between 45 minutes to an hour will dissipate those static charges that have built up giving your Nest device quality time to reboot.
3. Check for Signs of Physical Damage
If you are unable to reboot your Nest device as shown in the previous step, it’s time to investigate for physical damage. Did you accidentally drop your Nest speaker? Are there any defects in the charging cables and outlet plug? Was there an accidental spillage of liquid? It will stop working properly in any of these situations.
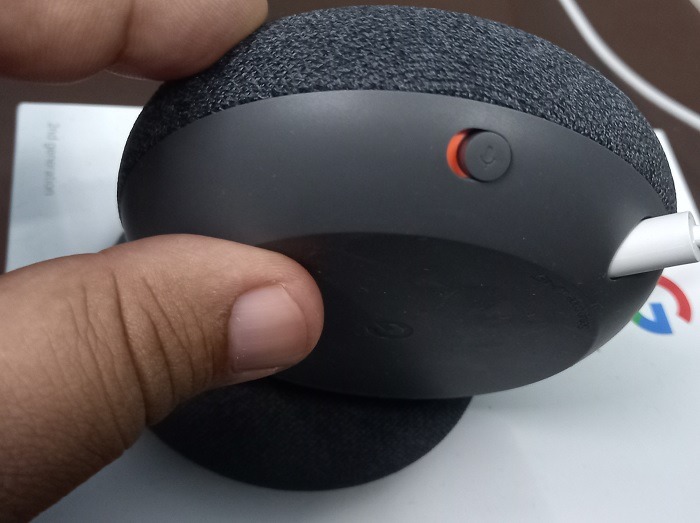
As your Nest device is protected under manufacturer’s warranty, you should get a replacement using the original bill of purchase. If the damage is just restricted to the cable cord or plug, you can find their replacements online.
4. Do a Factory Reset
Unlike what the name suggests, a factory reset in Google Home/Nest speakers won’t delete your previously stored data. It just gives your device a fresh start and you can undo all connection problems in less than 20 minutes. There are two things to do here:
a) Physically Perform the Reset on Your Google Home/Nest Device
- Go to the Google Home app on your phone or tablet and do a long-press to view the Nest device.
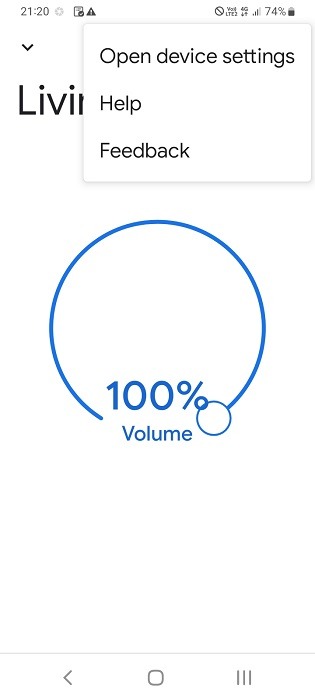
- From a three-dot menu on top, click “Open device settings.”
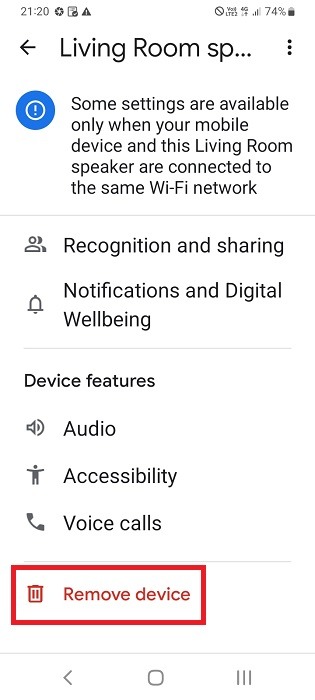
- Click “Remove device” to remove the Nest speaker from the app.
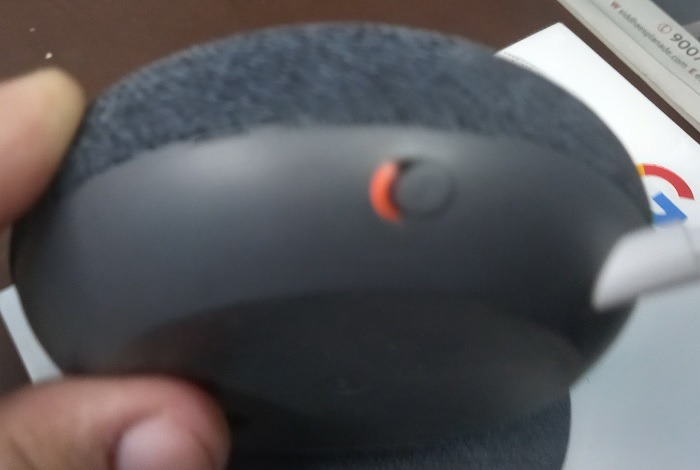
- Go back to the Google Home/Nest Mini speaker and turn off the mic switch. This will turn the microphone off.
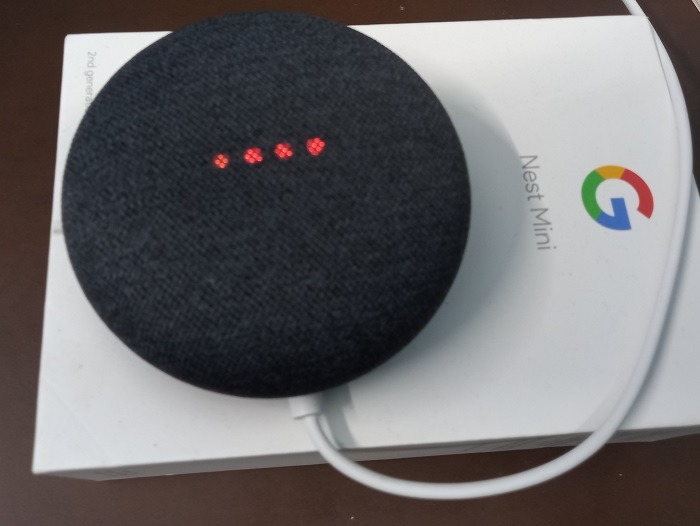
- You will notice four orange lights blinking on top of the Nest Mini speaker indicating that the mic is off. (With Google Home speakers, there are many more orange lights in a countdown format.)
- Firmly press the top of the speaker for about 10 seconds. It will announce automatically: “you’re about to reset the device. Release to cancel.” This means don’t release the hand because we want to complete the reset.
- Your speaker will announce something like “To set up your Nest device, please download and install Google Home app.”
- Turn the mic back on using the mic switch.
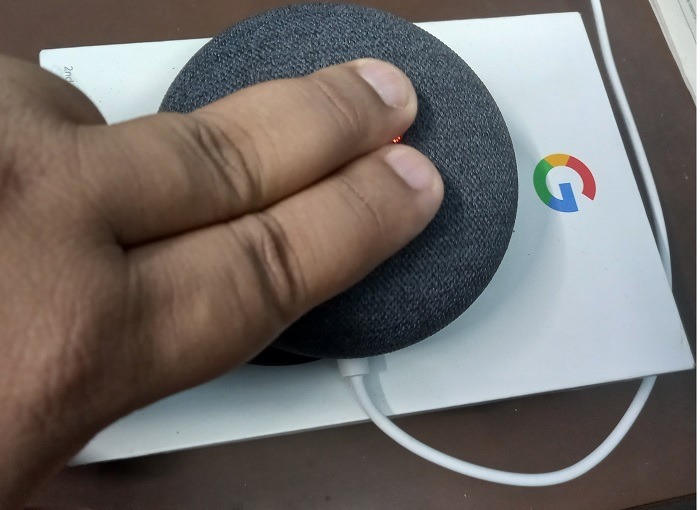
b) Reinitiate the Nest Device Setup on Your Google Home App
- On your Google Home app screen, you should see a prompt to set up Nest device. If you don’t see one, go to “Add device” and allow nearby devices to connect to the app.
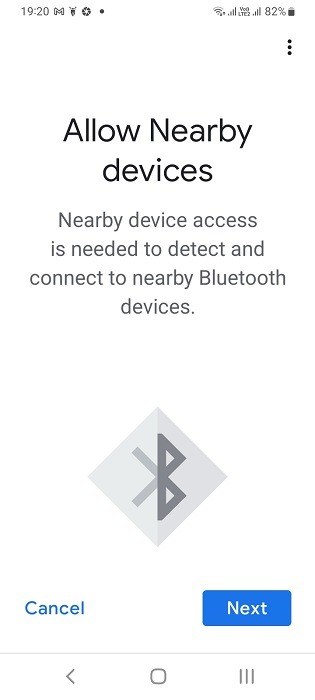
- To allow the nearby devices, keep Bluetooth on for your phone or tablet (it is always on by default in Nest devices.)
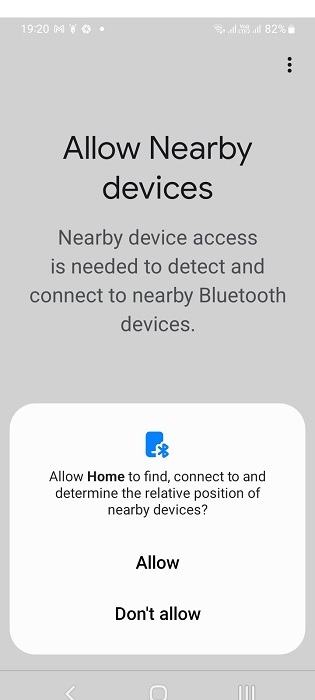
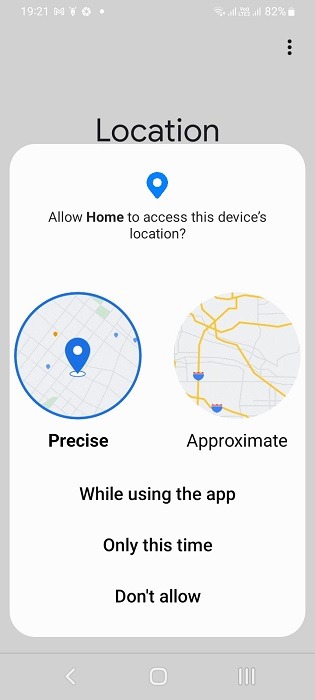
- Allow Google Home app to access your phone’s precise geographic location.
- Google Home will do a search for compatible devices in the network with a “looking for devices” message.
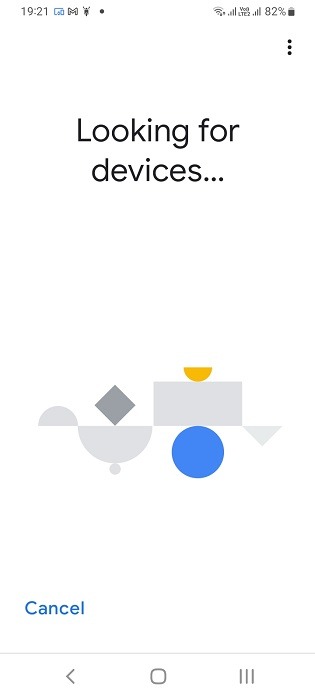
- When a Nest device is found in range, you will see it in Google Home app. Click “yes” to set up the device.
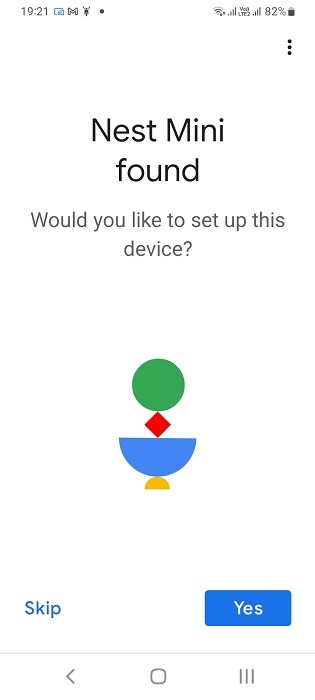
- Wait a while for the Nest device to connect to the Google Home app.
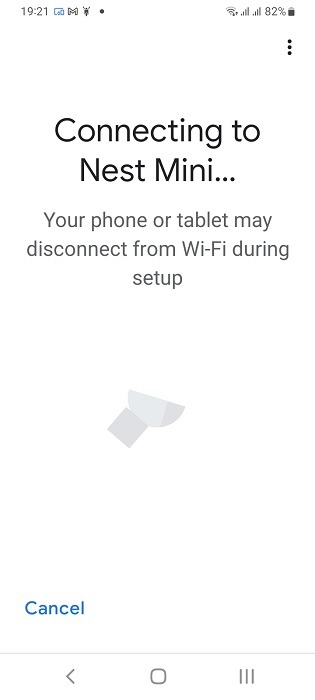
- You will see a “Connected” status when both the phone/tablet and Nest speaker are connected.
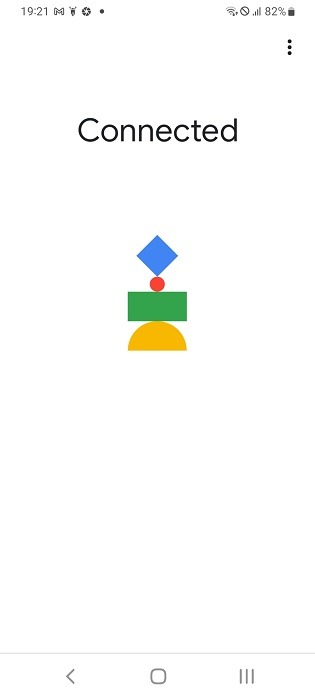
- As you may have previously saved your voice profile and personal search results connected to your Google account, you don’t have to do it again. You can simply import recognition and personalization settings again.
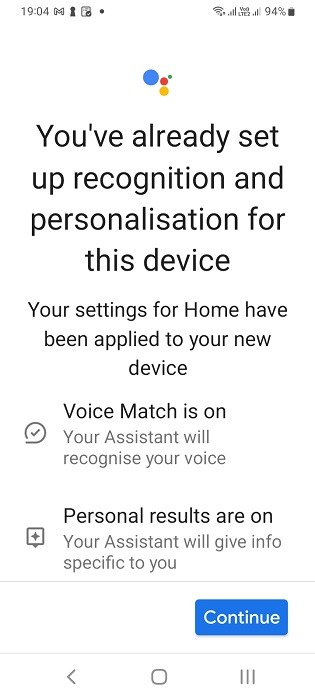
- Click “Continue” once you see the voice match and personal results as on.
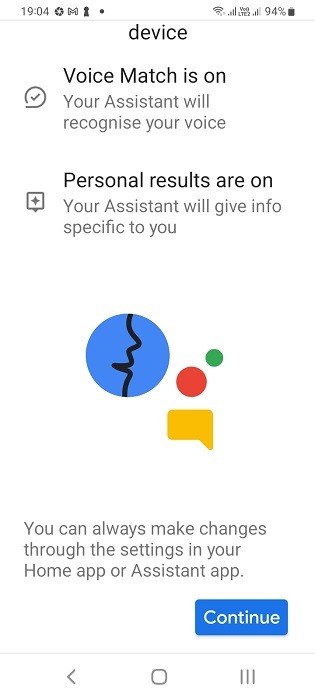
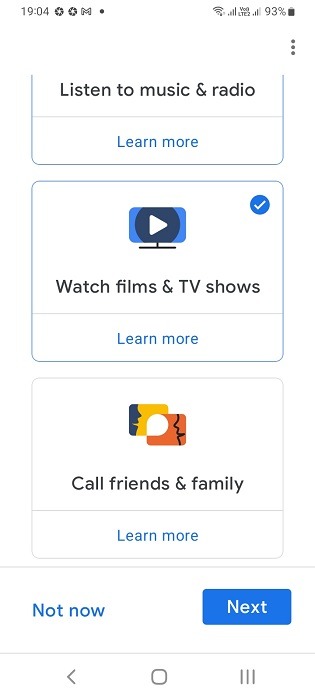
- One by one, click all your previous settings with Google Assistant such as “Listen to music & audio,” “watch films and TV shows,” or “call friends and family.” Finish each setting individually.
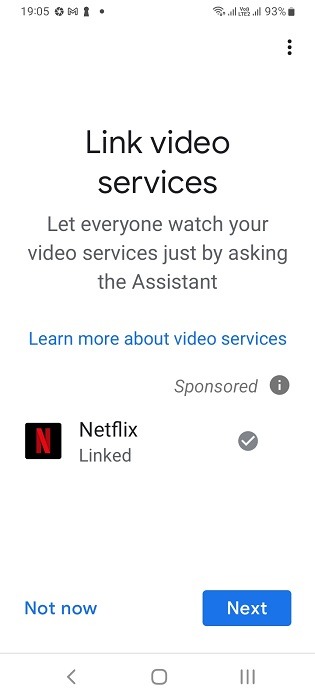
The following shows the linking of video services in Google Home app.
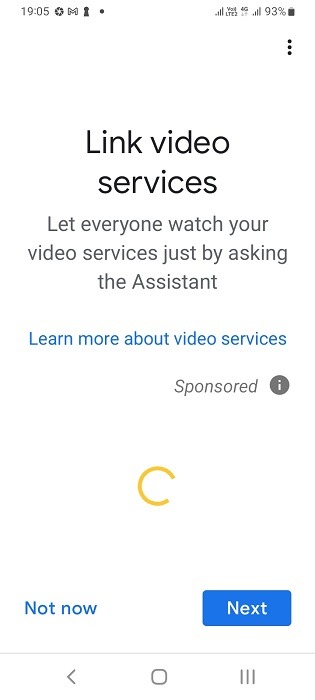
My previous Netflix settings were imported for the Google Home and Nest devices. I didn’t have to link Netflix to my Google account once again.
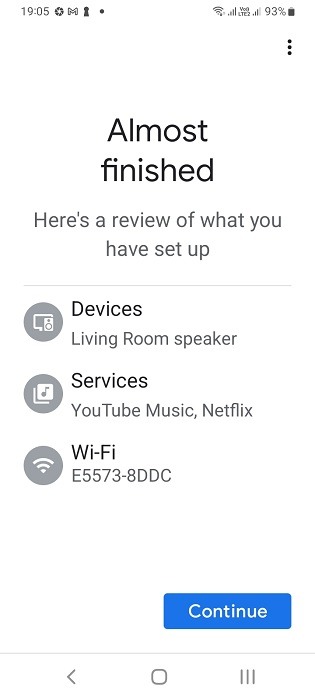
- Once all the previous settings are imported, you will see an “almost finished” status in Google Home app. Click “continue” to finalize them.
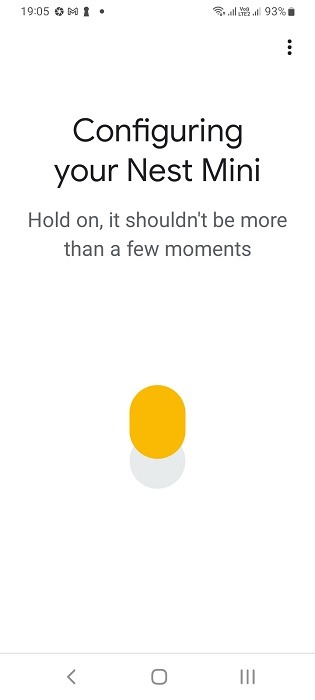
- Wait a few seconds for your Nest device to configure properly.
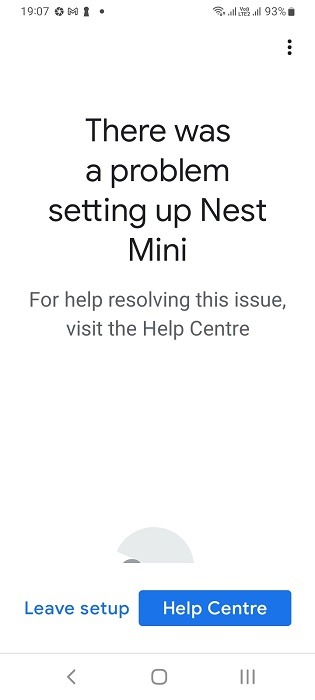
- If you see a “there was a problem setting up Nest device” message, just ignore it and press the “leave setup” or backspace button. This is a minor glitch nothing more.
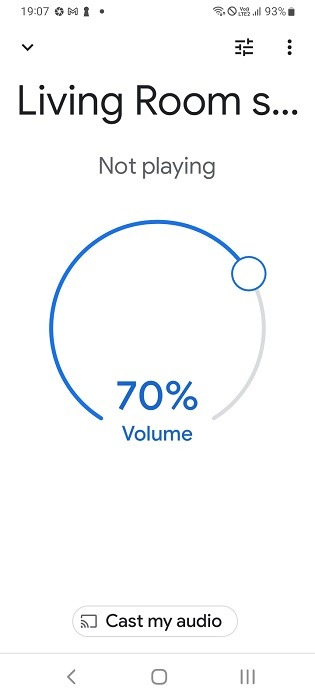
- You can see the volume displayed for your Nest speaker again.
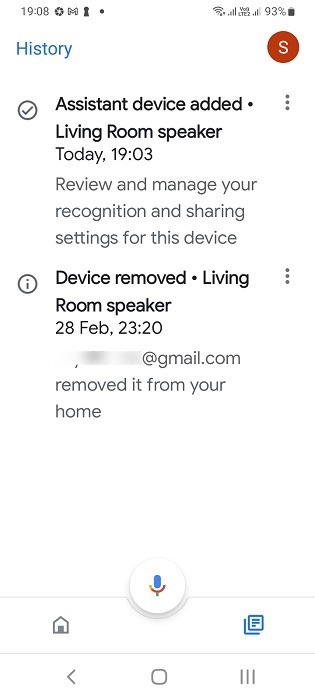
- You can view all instances of Assistant device added and removed in the app as shown under.
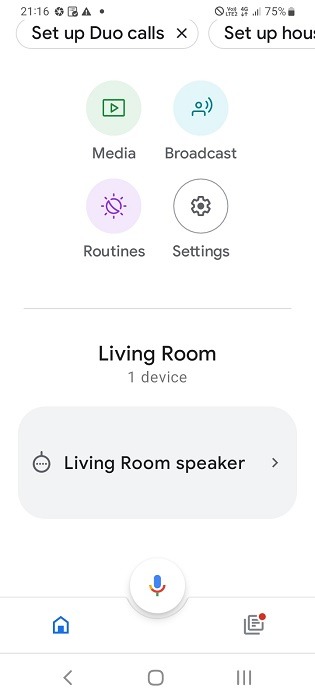
- You should be able to view the speaker again in the Google Home app homescreen. If it shows as offline, just speak something.
Go ahead and test the Nest/Google Home device for its listening ability with your favorite wake sentences: “Hey Google, how are you?” While you’re at it, play some YouTube music on your Nest device speaker.
Frequently Asked Questions
Why does my Google Home keep saying there is a glitch?
There could be many reasons behind a Google Home encountering a glitch but interference and static discharges are one of the biggest factors. Always keep your Google Home/Nest speaker in a location of the house where it won’t face and interference problems.
Why is my Google Home not connecting?
A changed Wi-Fi password is one of the leading causes of Google Home not connecting properly. That is why it’s essential to ensure that your Internet works properly before troubleshooting Nest devices.
Can Google Assistant alone control the smart devices?
You only need the Nest device for initial set up with another smart device in your home, for example, with this smart ceiling fan. Once it is set up properly, you can operate the connected smart device using Google Assistant on your phone/tablet alone. This is helpful when your speaker is facing “something went wrong” and “this is a glitch” errors.
Image Credit: Curtis Berry at Unsplash. All screenshots by Sayak Boral.
